bundled up

Pastel pencils have become my favorite drawing tool. Smudge-able, erasable, and in full color.

This drawing was inspired by my having to bundle up a lot like this just to go down to my basement art room during the winter months. I have a space heater I can turn on once I get down there, but my initial arrival can be a bit chilly.

Pastel on paper, 5.5×8.5″

dig a hole, fill it up

I chose this Big Cis plum tree to block the line of sight from across the street to my back patio because of its beautiful leaves and perfect size. Arborists can look down on red leaf plums because they are overplanted in some areas and they only live about 20 years, making them a short-term planting compared to other trees. I haven’t seen them planted much in my neighborhood, and I decided I’m okay with trying out one short-lived tree. I’ll expect to replace it when the time comes.

One of the instructors for my county’s master gardener course said that too many people take a $50 tree and put it in a $10 hole, when really the reverse should be true — a $10 tree being planted in a $50 hole. Ideally the hole the tree goes into should be twice as wide across as the pot the tree is coming from. For this tree I dug a hole that was several inches wider, but not twice as wide as the pot, and I started kicking myself for it as soon as I had the hole filled and the tree watered in. There’s a good chance the tree will be fine, especially since I gave it some extra space, but I will hate it if the tree does fail in a couple years and I learn that the hole was the cause of it.

just getting started on the hole

The reason to dig a wide hole is that the tree’s roots can have a hard time crossing into the firm, undisturbed soil outside the hole. They can even react to the edge of that firm soil as if it’s the edge of a pot, and start circling inside the turned soil of the hole. A tree can thrive for a year or two while their roots circle like this, but the roots will eventually strangle themselves and the tree will weaken and die. Digging a wider hole is supposed to make it so the roots are a little stronger by the time they reach the edge of the hole, a little more used to the native soil, and can push more tenaciously across that border.

One last planting tip from my master gardener class was to not fill the planting hole with compost or fertilizer but to use the exact soil you dug out in the first place. The reason is much the same as for digging a wide hole. If the planting hole is turned into a rich and loamy oasis, the roots might balk at entering the heavy native soil beyond the hole. Instead, fill the hole with native soil and topdress the entire area as you normally would with fertilizer or compost.

paperbark maple

The record heat we had this summer was not kind to this young paperbark maple in its first year in my yard. It only has a handful of leaves, and most of them have suffered from sun scorch.

I’m interested to see whether this tree ends up doing well. On one hand, USU’s Tree Browser says the paperbark maple “definitely should be planted [in Utah] more often,” and lists that it is “fairly” drought tolerant (although other sources say it is happiest in moist sites), adaptable to different soils, has medium tolerance to alkaline soils, and is attractive with reddish peeling bark and good fall color. That all sounds wonderful!

And yet, of the three paperbark maples growing on BYU’s campus, none are very impressive. When I visited them in Spring 2019, the one that looked best from a distance had a lot of dead wood on it. Another was just a funky shape. Definitely, none of them had the beautiful spreading canopies you see in photos of this tree grown in other parts of the country. (BYU’s Tree Tour site says its spread is usually about half the height, which doesn’t seem to be true in other places.)

But a funky shape can still be attractive, and maybe the fall color and cool peeling bark will make it a nice specimen. It is supposed to be a decidedly slow growing tree, so it may be many years before I see how it turns out. Hopefully I at least see fewer leaves damaged by sun scorch next year as the roots get more established.

the jury’s still out on growing raspberries

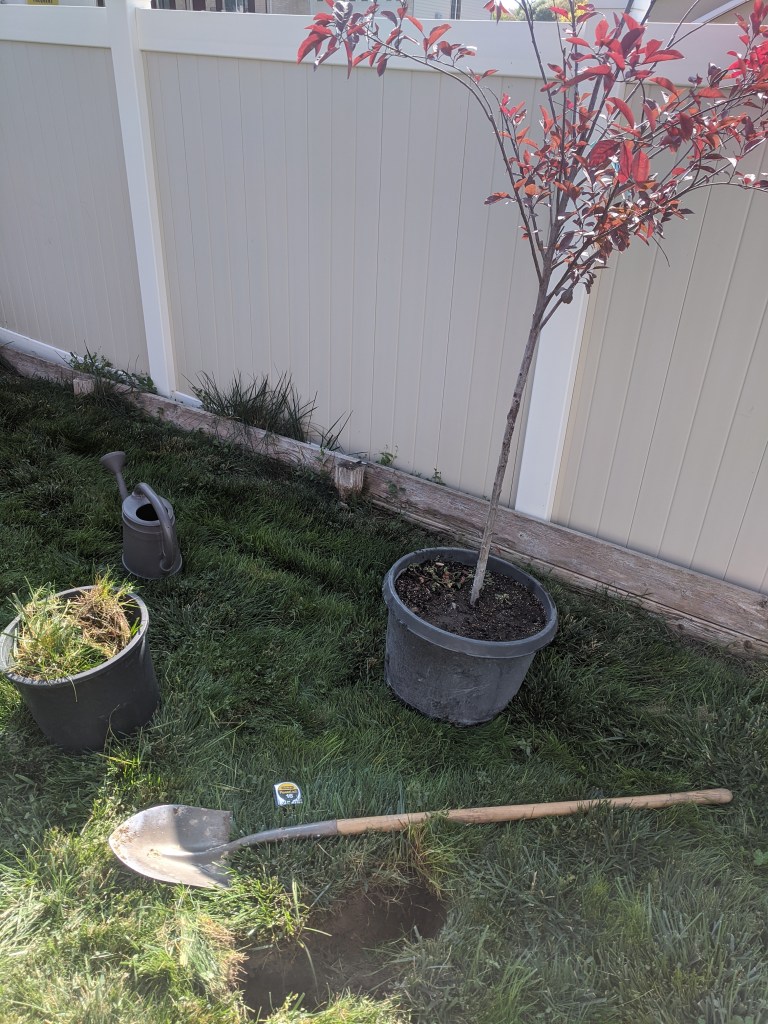
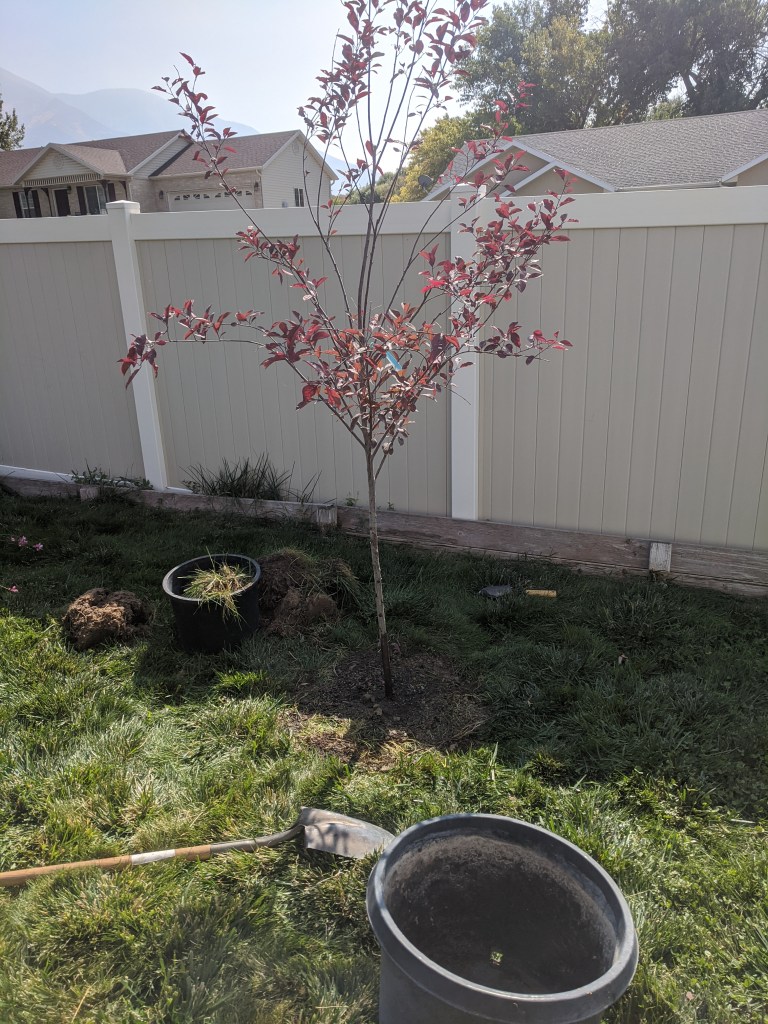
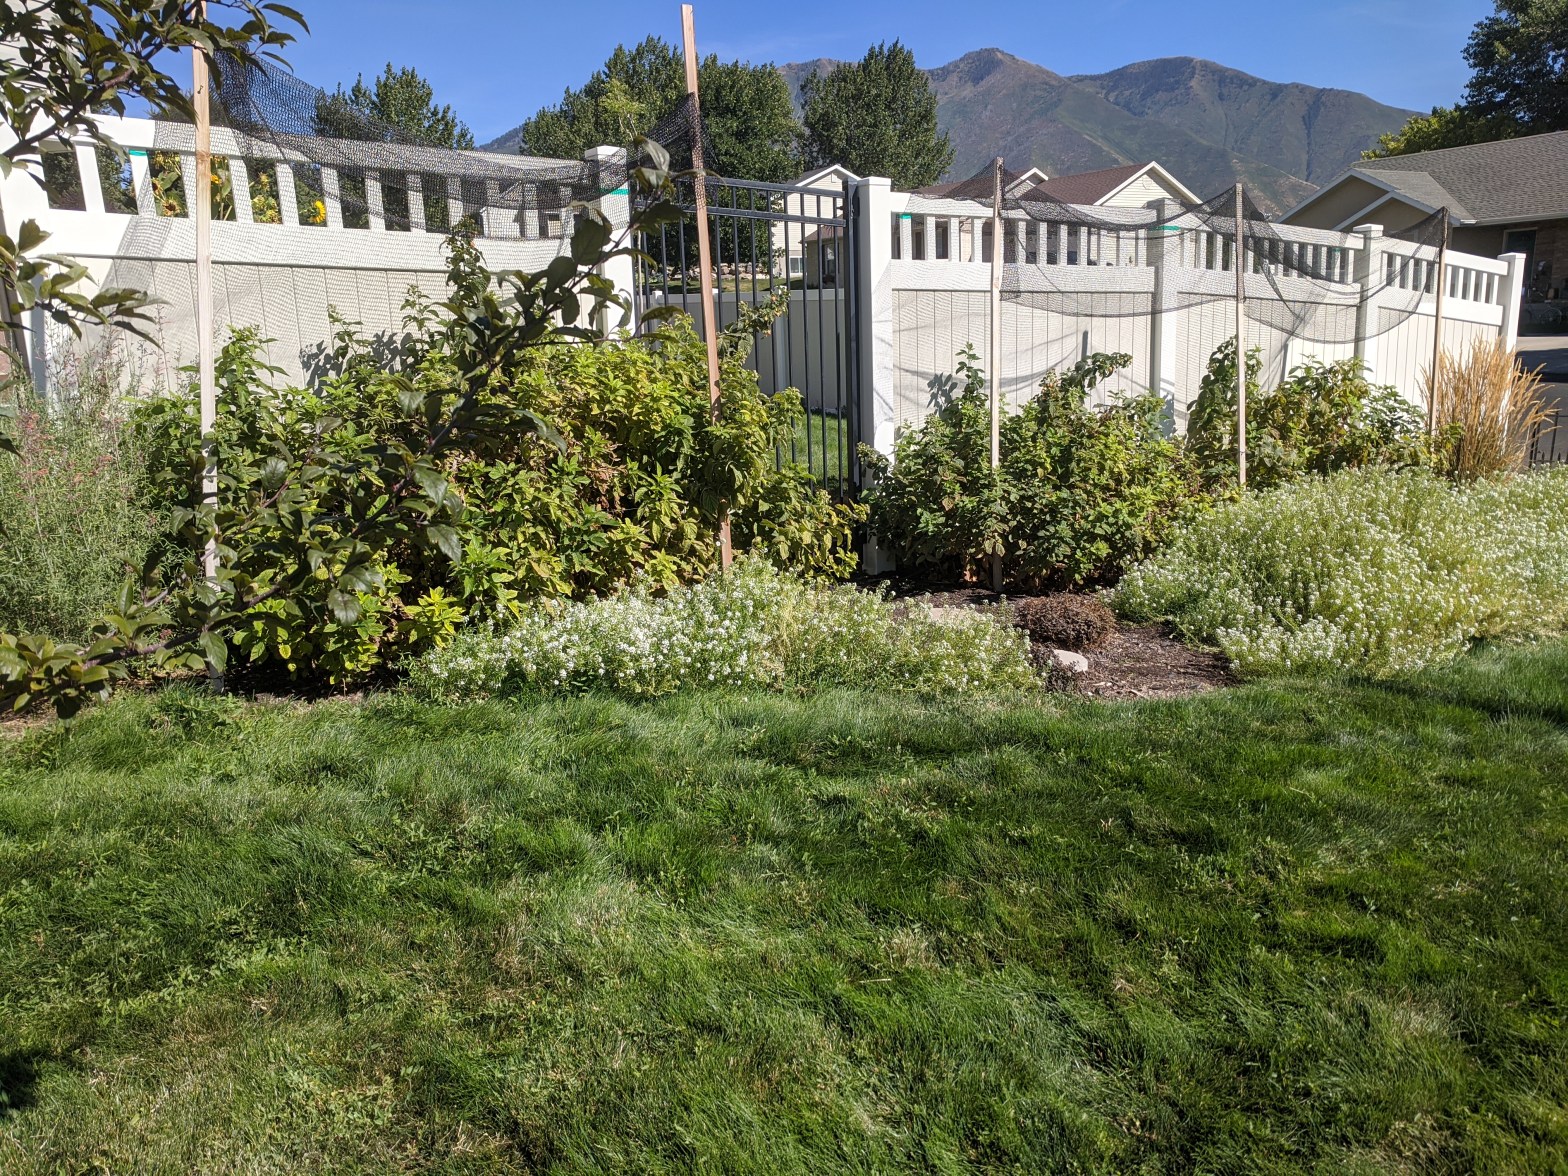
This is year two for these Double Gold everbearing raspberry bushes (ordered from Burpee). Year one started like this:

My raspberries have been enough of a hassle to make me question my commitment to keeping them around. Right now, though, I am getting a tasty Fall harvest and I know I’ll try at least one more year. Here are some standouts from my experience so far.

a pesky pest

There is a wasp called the raspberry horntail that likes to lay eggs inside raspberry canes. When the eggs hatch the little larvae eat their way up through the center of the cane, and I spent a month or two in Spring scanning daily for wilted cane tips to prune out and throw away, hopefully destroying the larvae. The USU factsheet says it’s common to see one “actively wilting” cane per 5-10 feet of raspberry row. I have about 15 feet of row and I had way more than one actively wilting cane through much of June and July. Wasps are a major problem in my neighborhood, (maybe because of the creek running along the street?) so maybe I should expect to battle this pest as long as I’m growing raspberries.
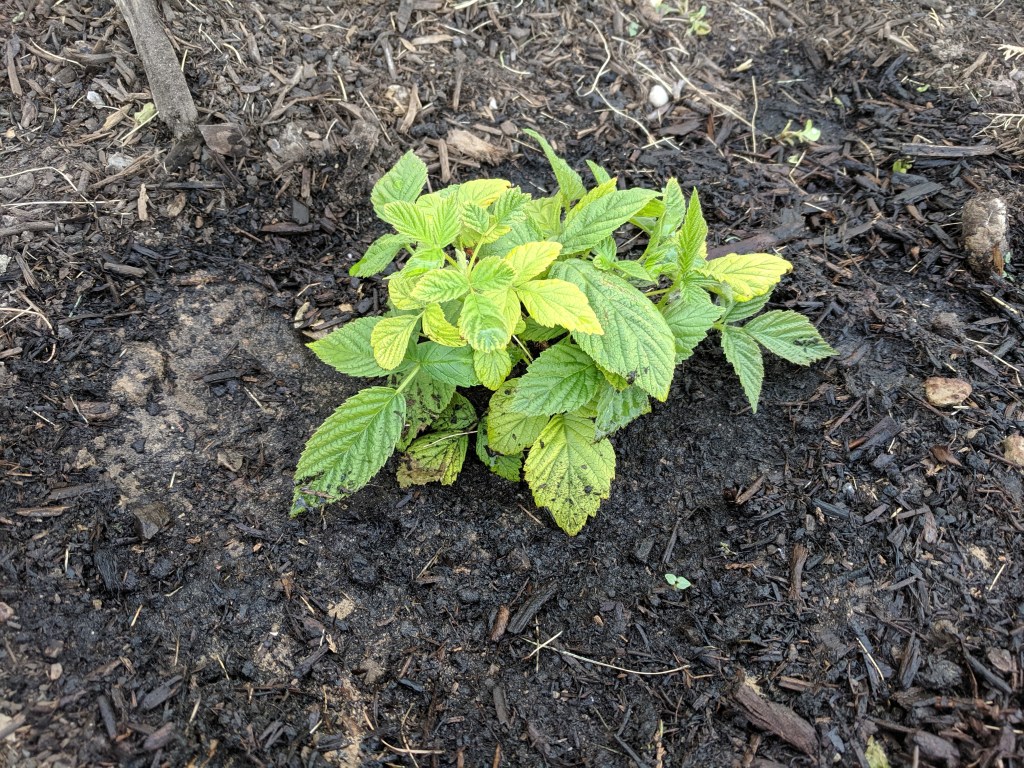
iron chlorosis

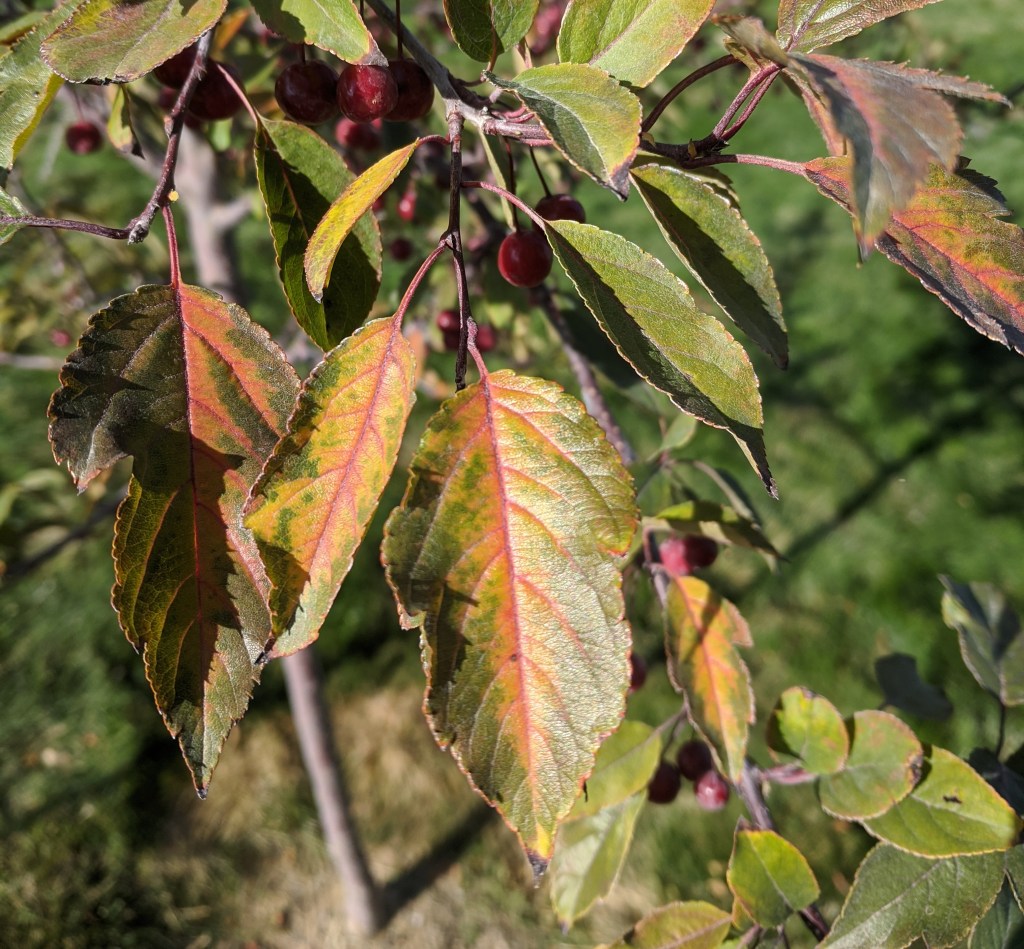
Utah’s alkaline soil makes it hard for raspberry roots to absorb iron. This means that raspberries can suffer from iron deficiency (iron chlorosis) even if there is plenty of iron in the soil. Waterlogged or heavy clay soils can make the problem worse. Iron deficient (chlorotic) leaves emerge more yellow than green, which means they aren’t able to photosynthesize as well as the plant needs, leaving the plant stressed. In my garden the intense summer sun is more than these weak leaves can bear, and they end up brown and dead.

To keep raspberry plants healthy in alkaline soil I need to apply chelated iron. The way it was explained to me, the iron molecules in chelated iron have been hidden inside a coating that plants can absorb easily. So the roots take up the outer coating, only to discover later that they got some bonus iron too. Miller’s Ferriplus was the product recommended to me and it seems to work well. I sprinkle it on then water it in before the canes leaf out in Spring and again anytime I see leaves yellowing from iron chlorosis. Some of my leaves are yellowing now but I’m still weighing whether to treat them for it this close to Fall. Chelated iron products definitely add to the cost of gardening, so I try to use only what is needed and I avoid growing any other plants that are prone to chlorosis.

Having to treat my raspberries for iron chlorosis has been a pain for me so far. In year one I made the problem worse by overwatering; in year two I wasted my early Spring application of chelated iron by not watering it in; then I think I overcompensated and applied too much, which was again wasteful. I’m going to keep at it next year and try to get the hang of it.

just a little shade

Here’s a problem I faced with a satisfying solution. Raspberry plants like plenty of sun but they can still get scorched in extreme heat, and the berries will get sunburned without some protection. After cutting plenty of sunburned patches off my Spring berries and seeing leaves getting scorched from reflected heat against this west-facing fence, I secured a 30% shade cloth over the stakes at the edge of the row, and the leaves and berries have been happier since then. As a bonus, the shade cloth made the row of raspberry canes look a little more orderly, which is nice since they’re growing in my front yard.

When the berries are in season I do a harvesting walk-through each day. I like to eat about half the berries then and there, and throw the rest into the freezer to use in smoothies. Year one had no harvest, year two is giving an okay harvest, and I’m definitely hoping for a stronger harvest next year and beyond.

If you have your own experience with growing raspberries, I’d love to hear about it.

a little wild and in motion

This has been such a wonderful painting to carry from beginning to end. It’s been about a year since I started putting down my first ideas for it, nearly three months since I started working in earnest on the final product, and I can tell that I’ve grown as an artist in that time. Here are some of the steps in this painting’s process.

first study

This was my first study of what the painting might look like. I had an idea of some of the colors I wanted to use but everything else from this draft was eventually abandoned. I did like this draft — it just wasn’t where my heart was headed for this painting.

second study

In the second study I experimented with adding more movement to the image and extra splashes of color, and using yellow as the base layer.

third study

The third study is where I started grasping the ultimate composition of the piece. In fact, after this study my plan for the final product had included a contrasting shape like the red ‘S’ (probably in a pale orange or grey) until the very end when I decided it wasn’t necessary.

My tools for the canvas were a kitchen spatula and a palette knife. In a few places you can see a cool texture created by the holes in the spatula. Applying paint to this large canvas was nothing like applying paint to the small pieces of paper I’d used for my studies, which is what forced me to push beyond the scattered design of green shapes from my third study and create something more whole.

I see the painting as being a little wild and in motion, which is just right. Acrylic on canvas, three 24×48″ panels.