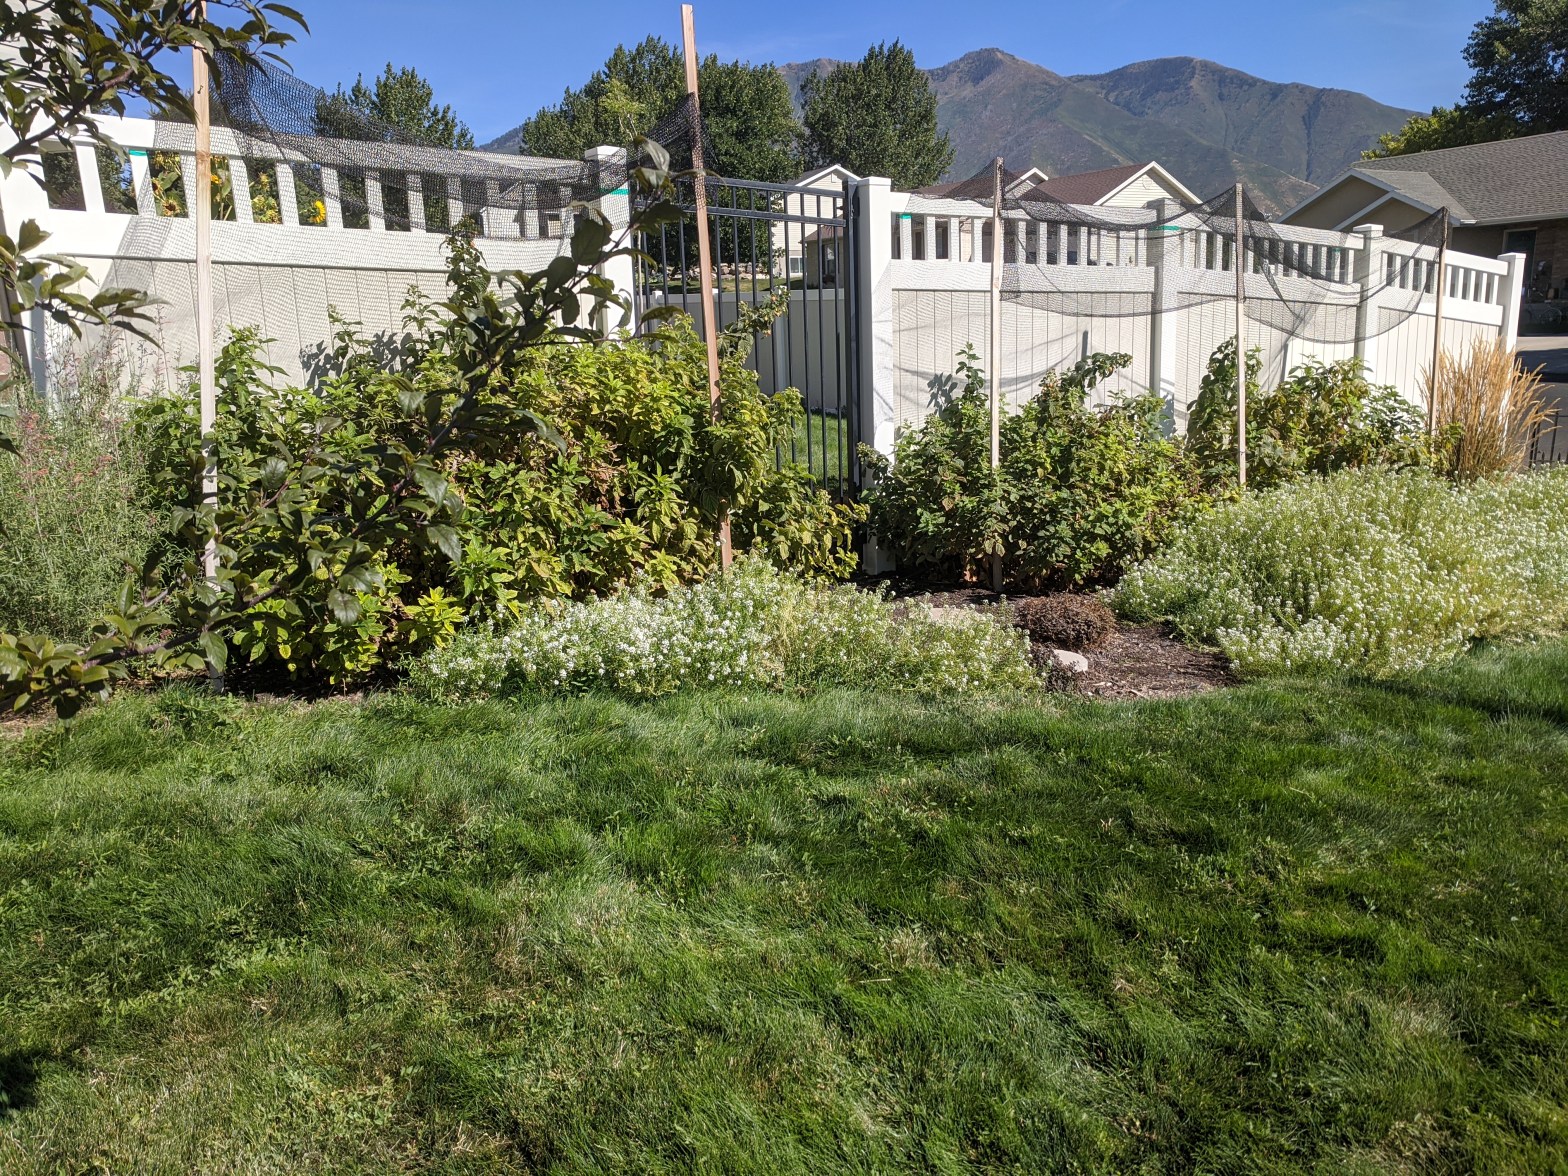
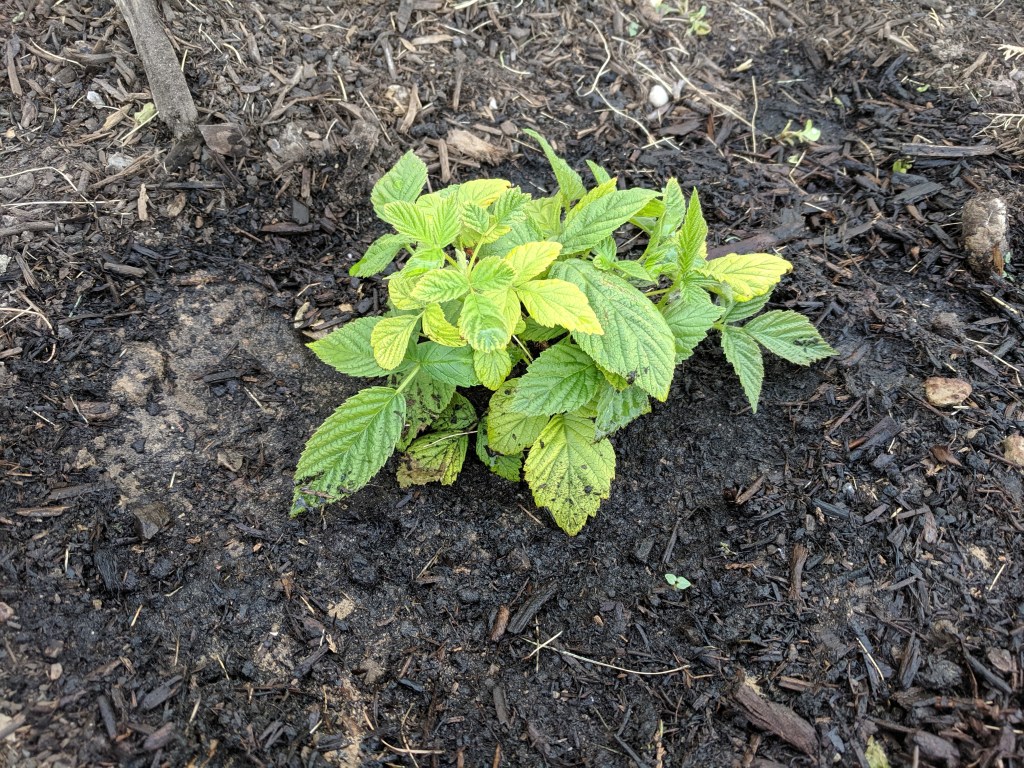
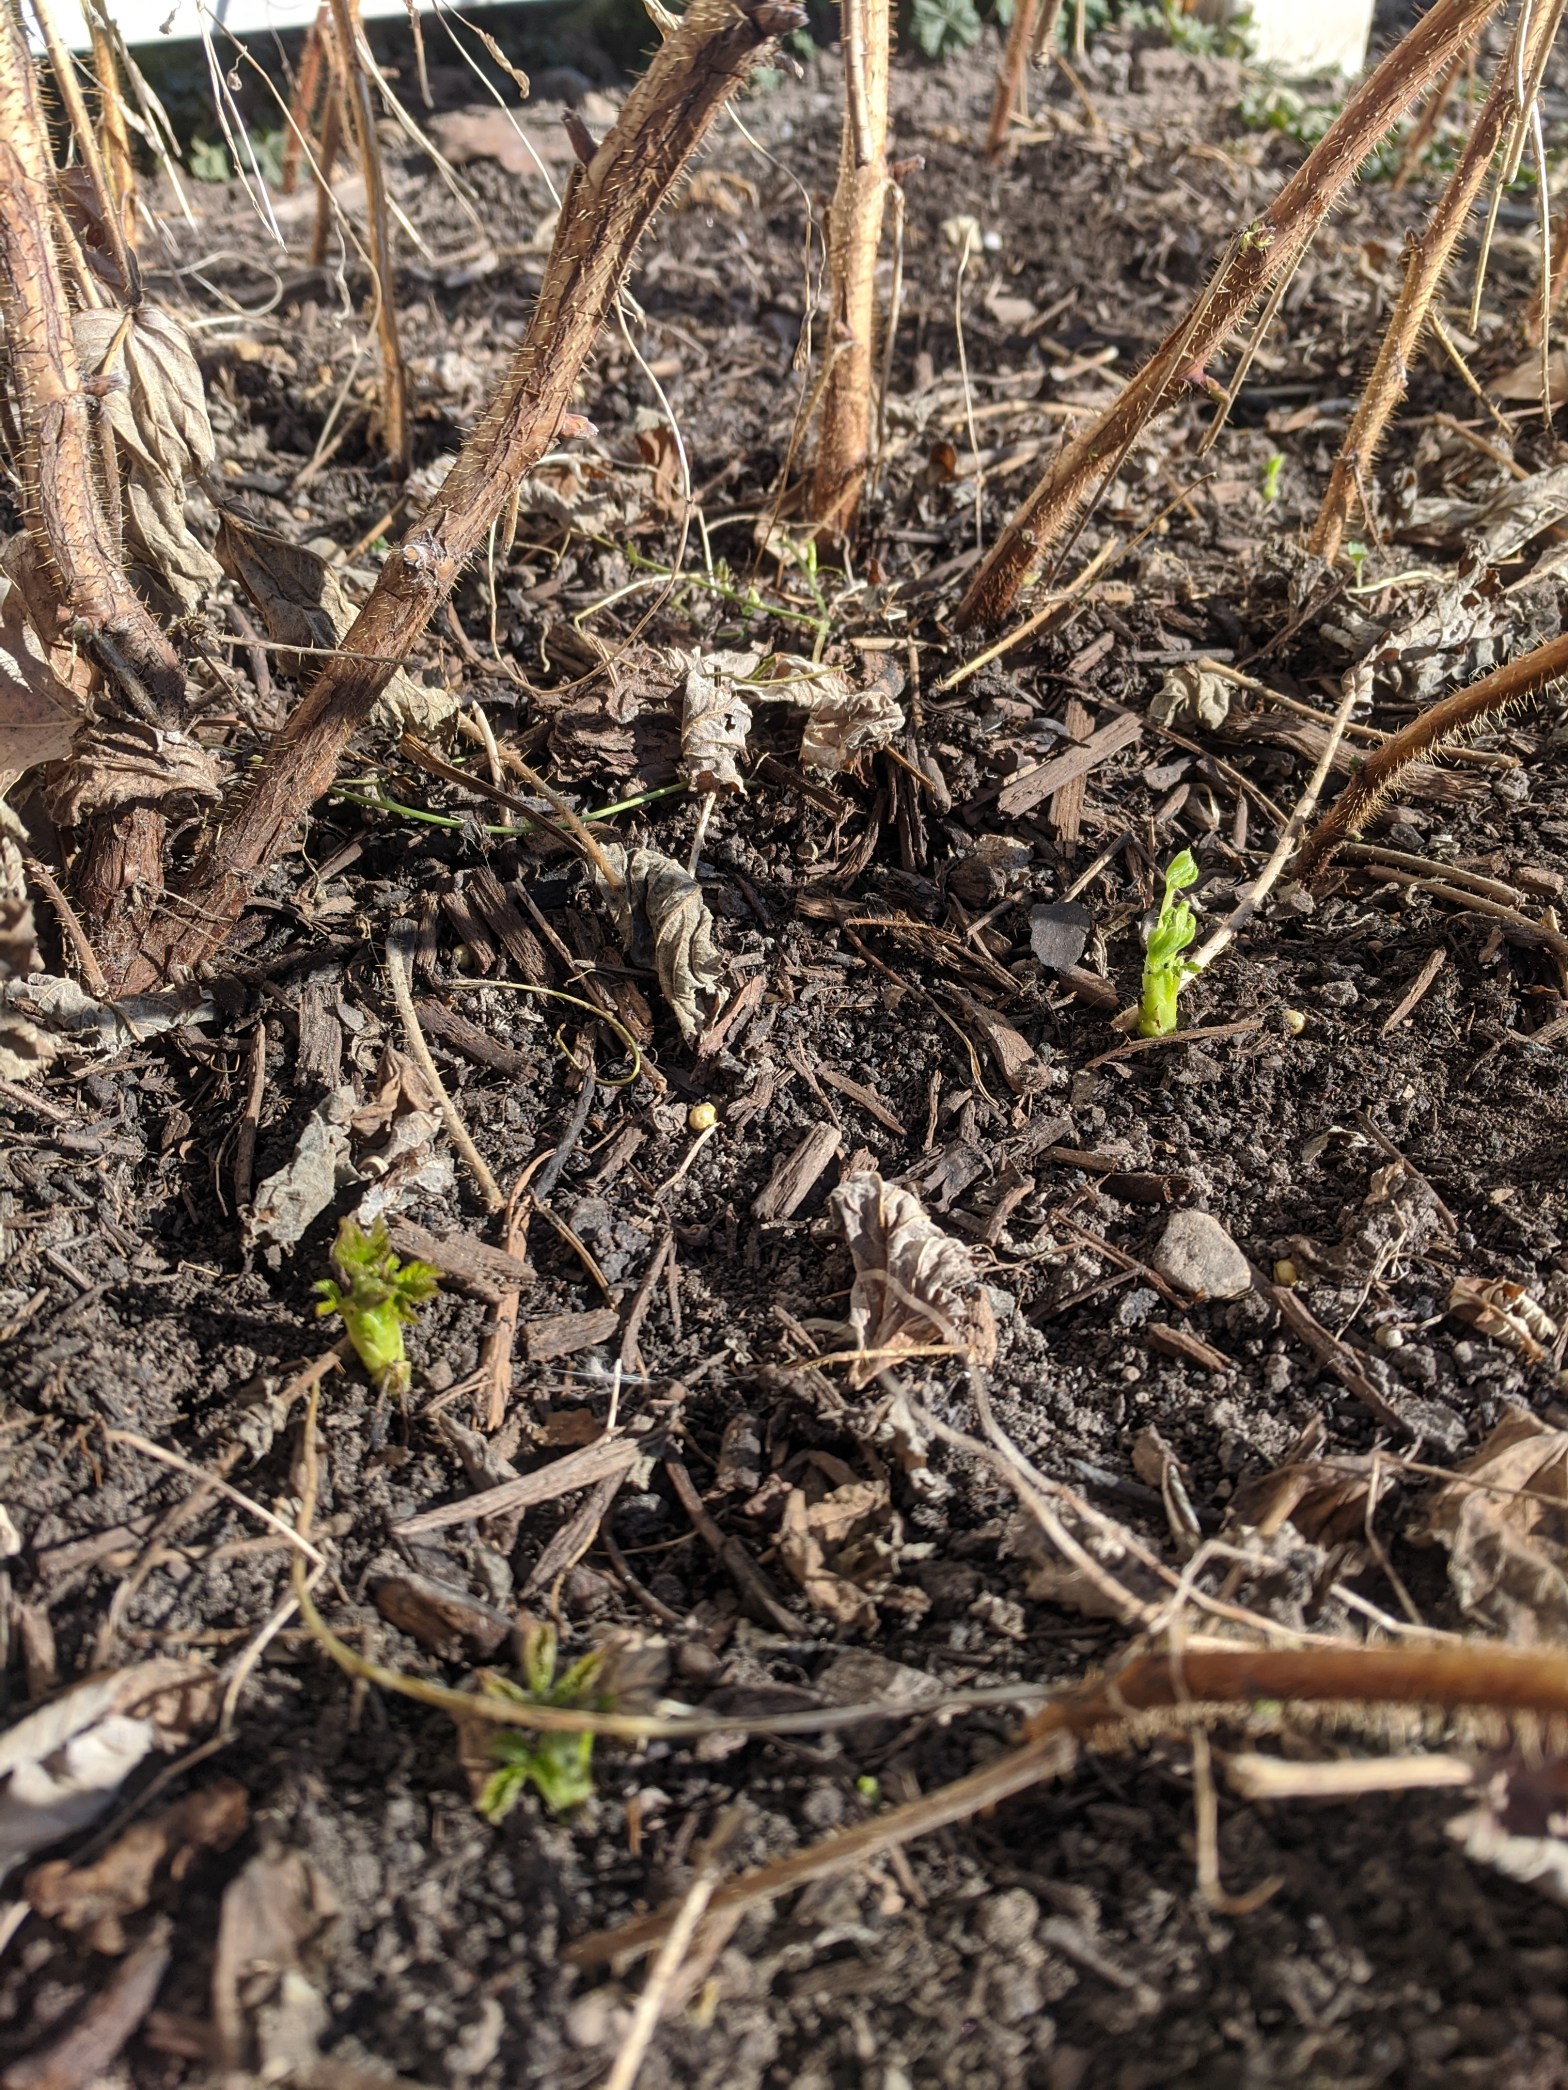
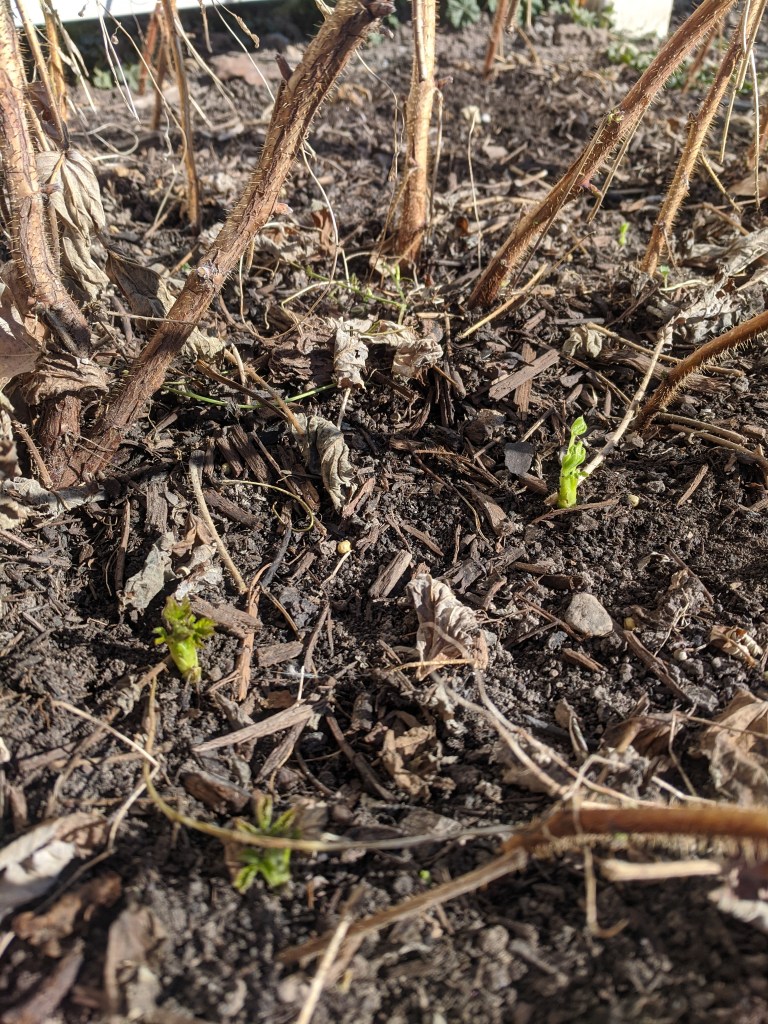
This is year two for these Double Gold everbearing raspberry bushes (ordered from Burpee). Year one started like this:

My raspberries have been enough of a hassle to make me question my commitment to keeping them around. Right now, though, I am getting a tasty Fall harvest and I know I’ll try at least one more year. Here are some standouts from my experience so far.
a pesky pest
There is a wasp called the raspberry horntail that likes to lay eggs inside raspberry canes. When the eggs hatch the little larvae eat their way up through the center of the cane, and I spent a month or two in Spring scanning daily for wilted cane tips to prune out and throw away, hopefully destroying the larvae. The USU factsheet says it’s common to see one “actively wilting” cane per 5-10 feet of raspberry row. I have about 15 feet of row and I had way more than one actively wilting cane through much of June and July. Wasps are a major problem in my neighborhood, (maybe because of the creek running along the street?) so maybe I should expect to battle this pest as long as I’m growing raspberries.
iron chlorosis
Utah’s alkaline soil makes it hard for raspberry roots to absorb iron. This means that raspberries can suffer from iron deficiency (iron chlorosis) even if there is plenty of iron in the soil. Waterlogged or heavy clay soils can make the problem worse. Iron deficient (chlorotic) leaves emerge more yellow than green, which means they aren’t able to photosynthesize as well as the plant needs, leaving the plant stressed. In my garden the intense summer sun is more than these weak leaves can bear, and they end up brown and dead.
To keep raspberry plants healthy in alkaline soil I need to apply chelated iron. The way it was explained to me, the iron molecules in chelated iron have been hidden inside a coating that plants can absorb easily. So the roots take up the outer coating, only to discover later that they got some bonus iron too. Miller’s Ferriplus was the product recommended to me and it seems to work well. I sprinkle it on then water it in before the canes leaf out in Spring and again anytime I see leaves yellowing from iron chlorosis. Some of my leaves are yellowing now but I’m still weighing whether to treat them for it this close to Fall. Chelated iron products definitely add to the cost of gardening, so I try to use only what is needed and I avoid growing any other plants that are prone to chlorosis.
Having to treat my raspberries for iron chlorosis has been a pain for me so far. In year one I made the problem worse by overwatering; in year two I wasted my early Spring application of chelated iron by not watering it in; then I think I overcompensated and applied too much, which was again wasteful. I’m going to keep at it next year and try to get the hang of it.
just a little shade
Here’s a problem I faced with a satisfying solution. Raspberry plants like plenty of sun but they can still get scorched in extreme heat, and the berries will get sunburned without some protection. After cutting plenty of sunburned patches off my Spring berries and seeing leaves getting scorched from reflected heat against this west-facing fence, I secured a 30% shade cloth over the stakes at the edge of the row, and the leaves and berries have been happier since then. As a bonus, the shade cloth made the row of raspberry canes look a little more orderly, which is nice since they’re growing in my front yard.
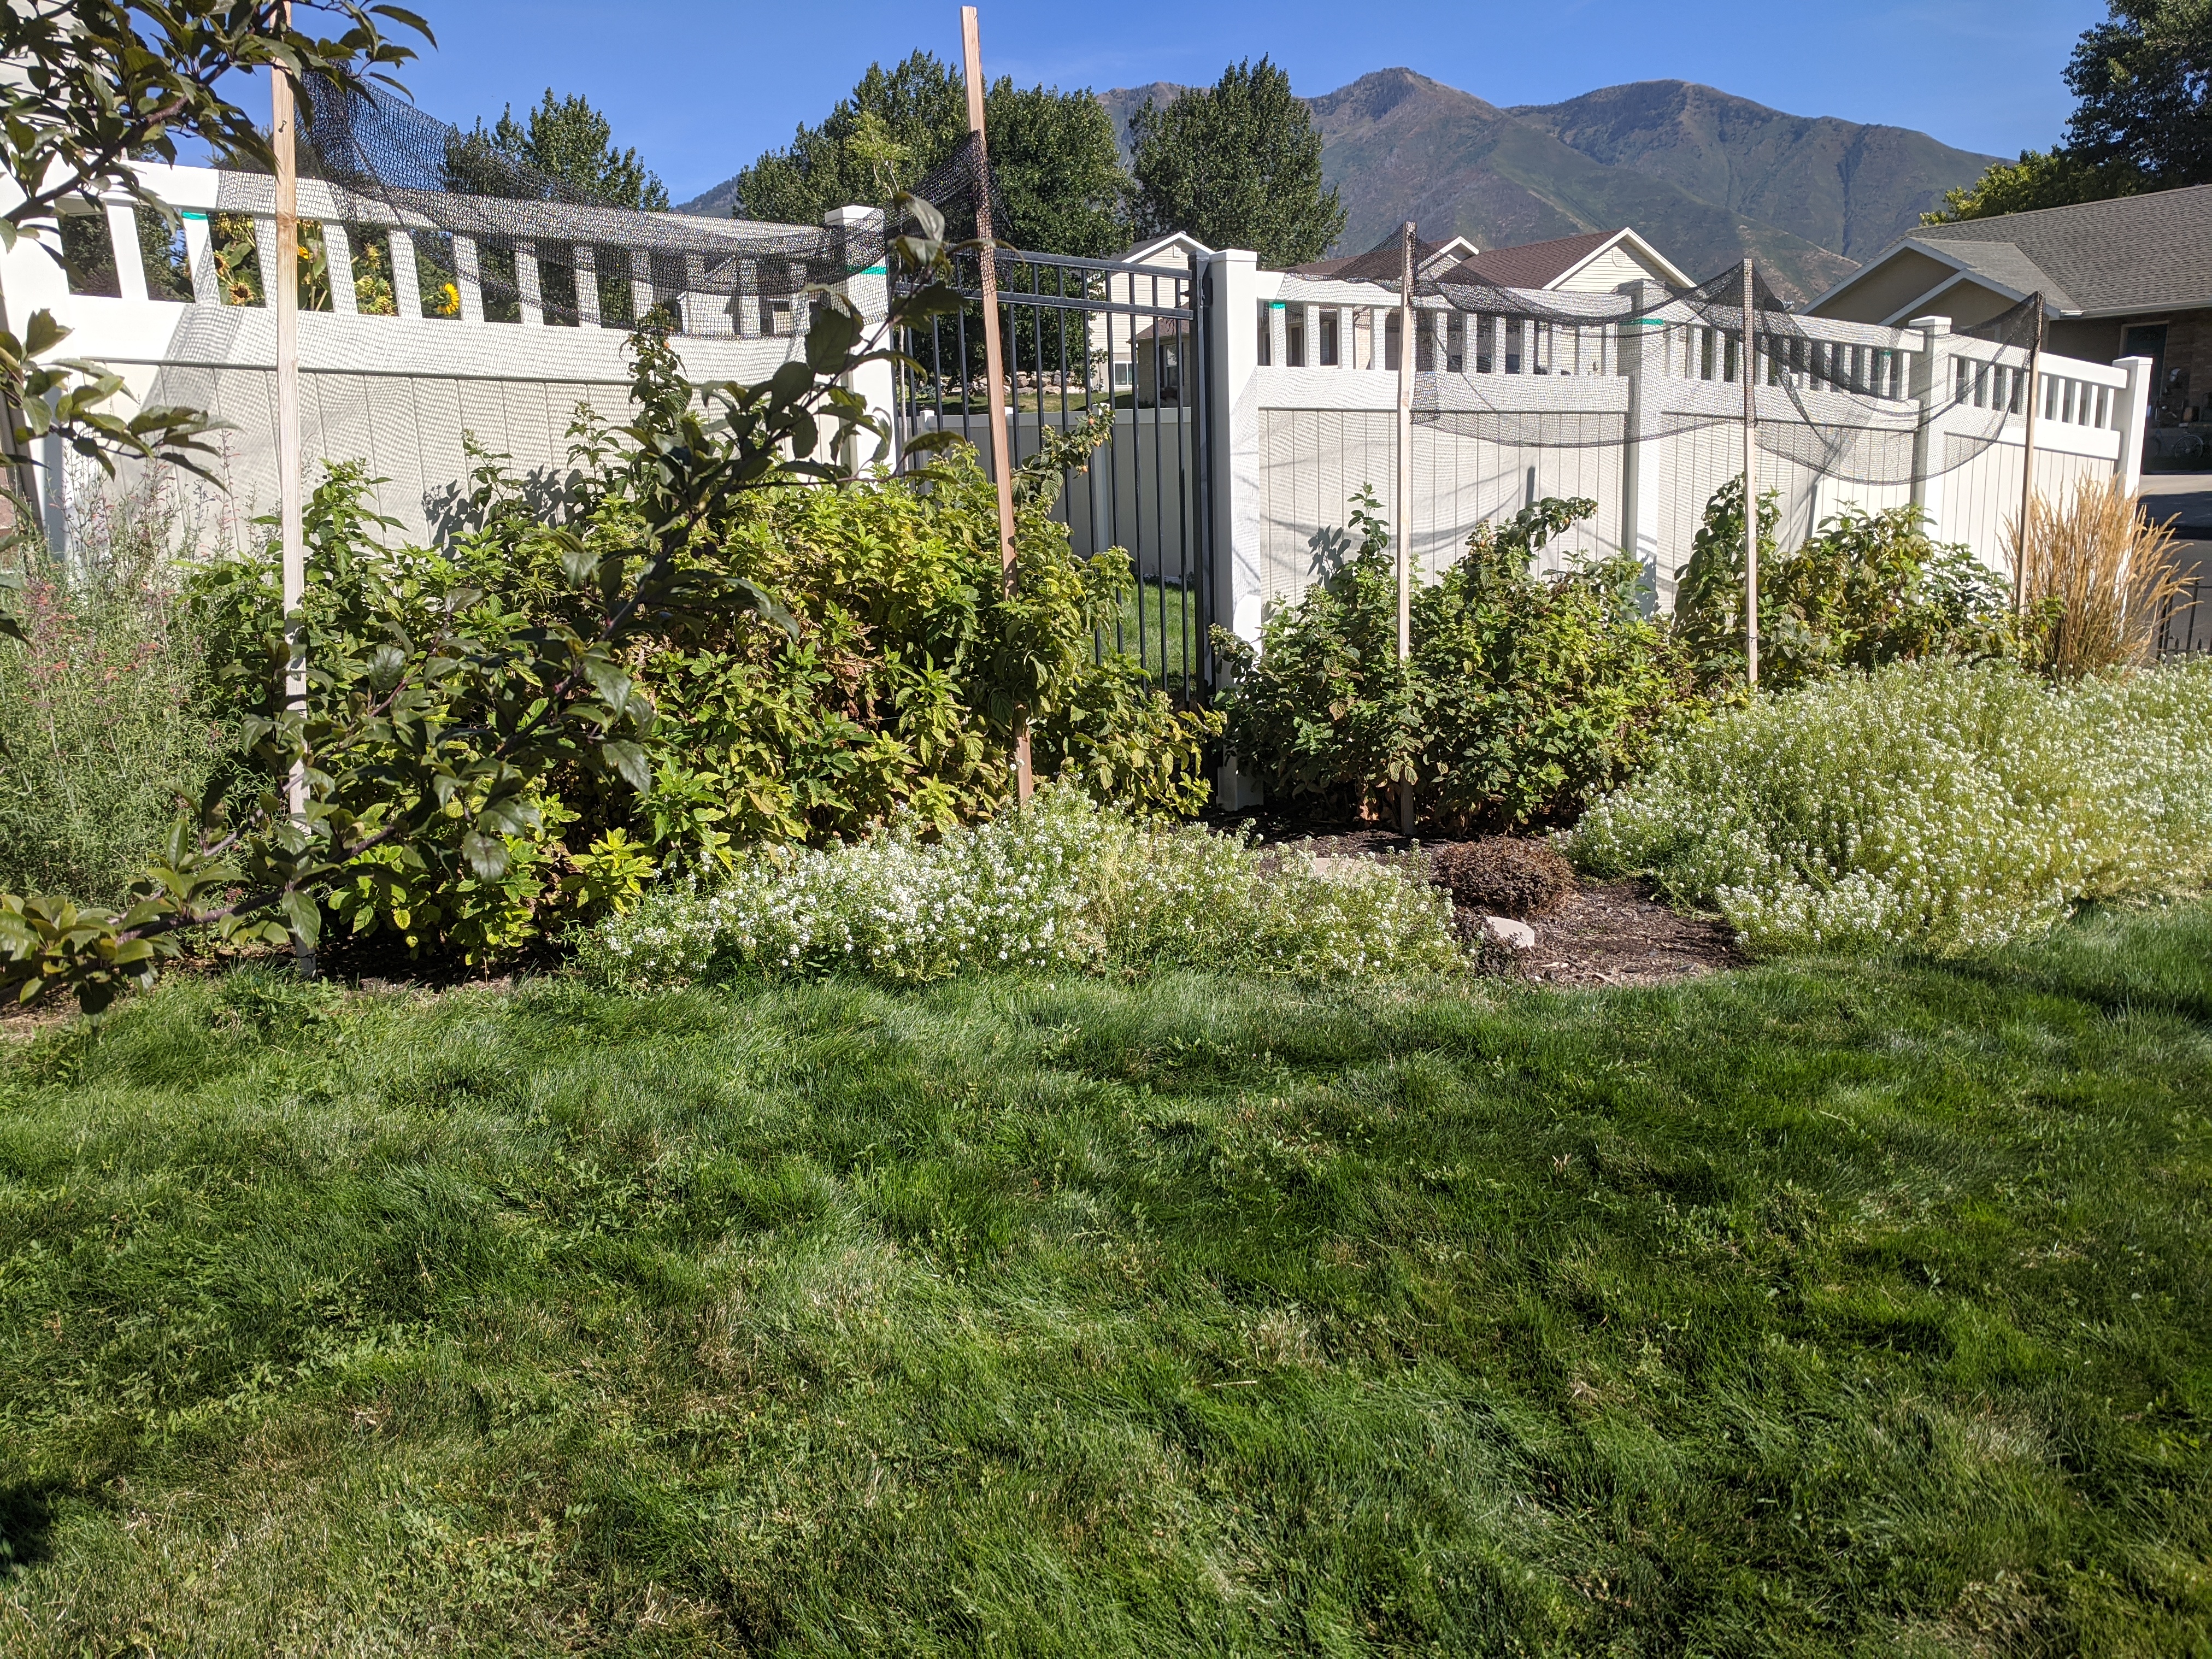


When the berries are in season I do a harvesting walk-through each day. I like to eat about half the berries then and there, and throw the rest into the freezer to use in smoothies. Year one had no harvest, year two is giving an okay harvest, and I’m definitely hoping for a stronger harvest next year and beyond.
If you have your own experience with growing raspberries, I’d love to hear about it.

 mind and heart