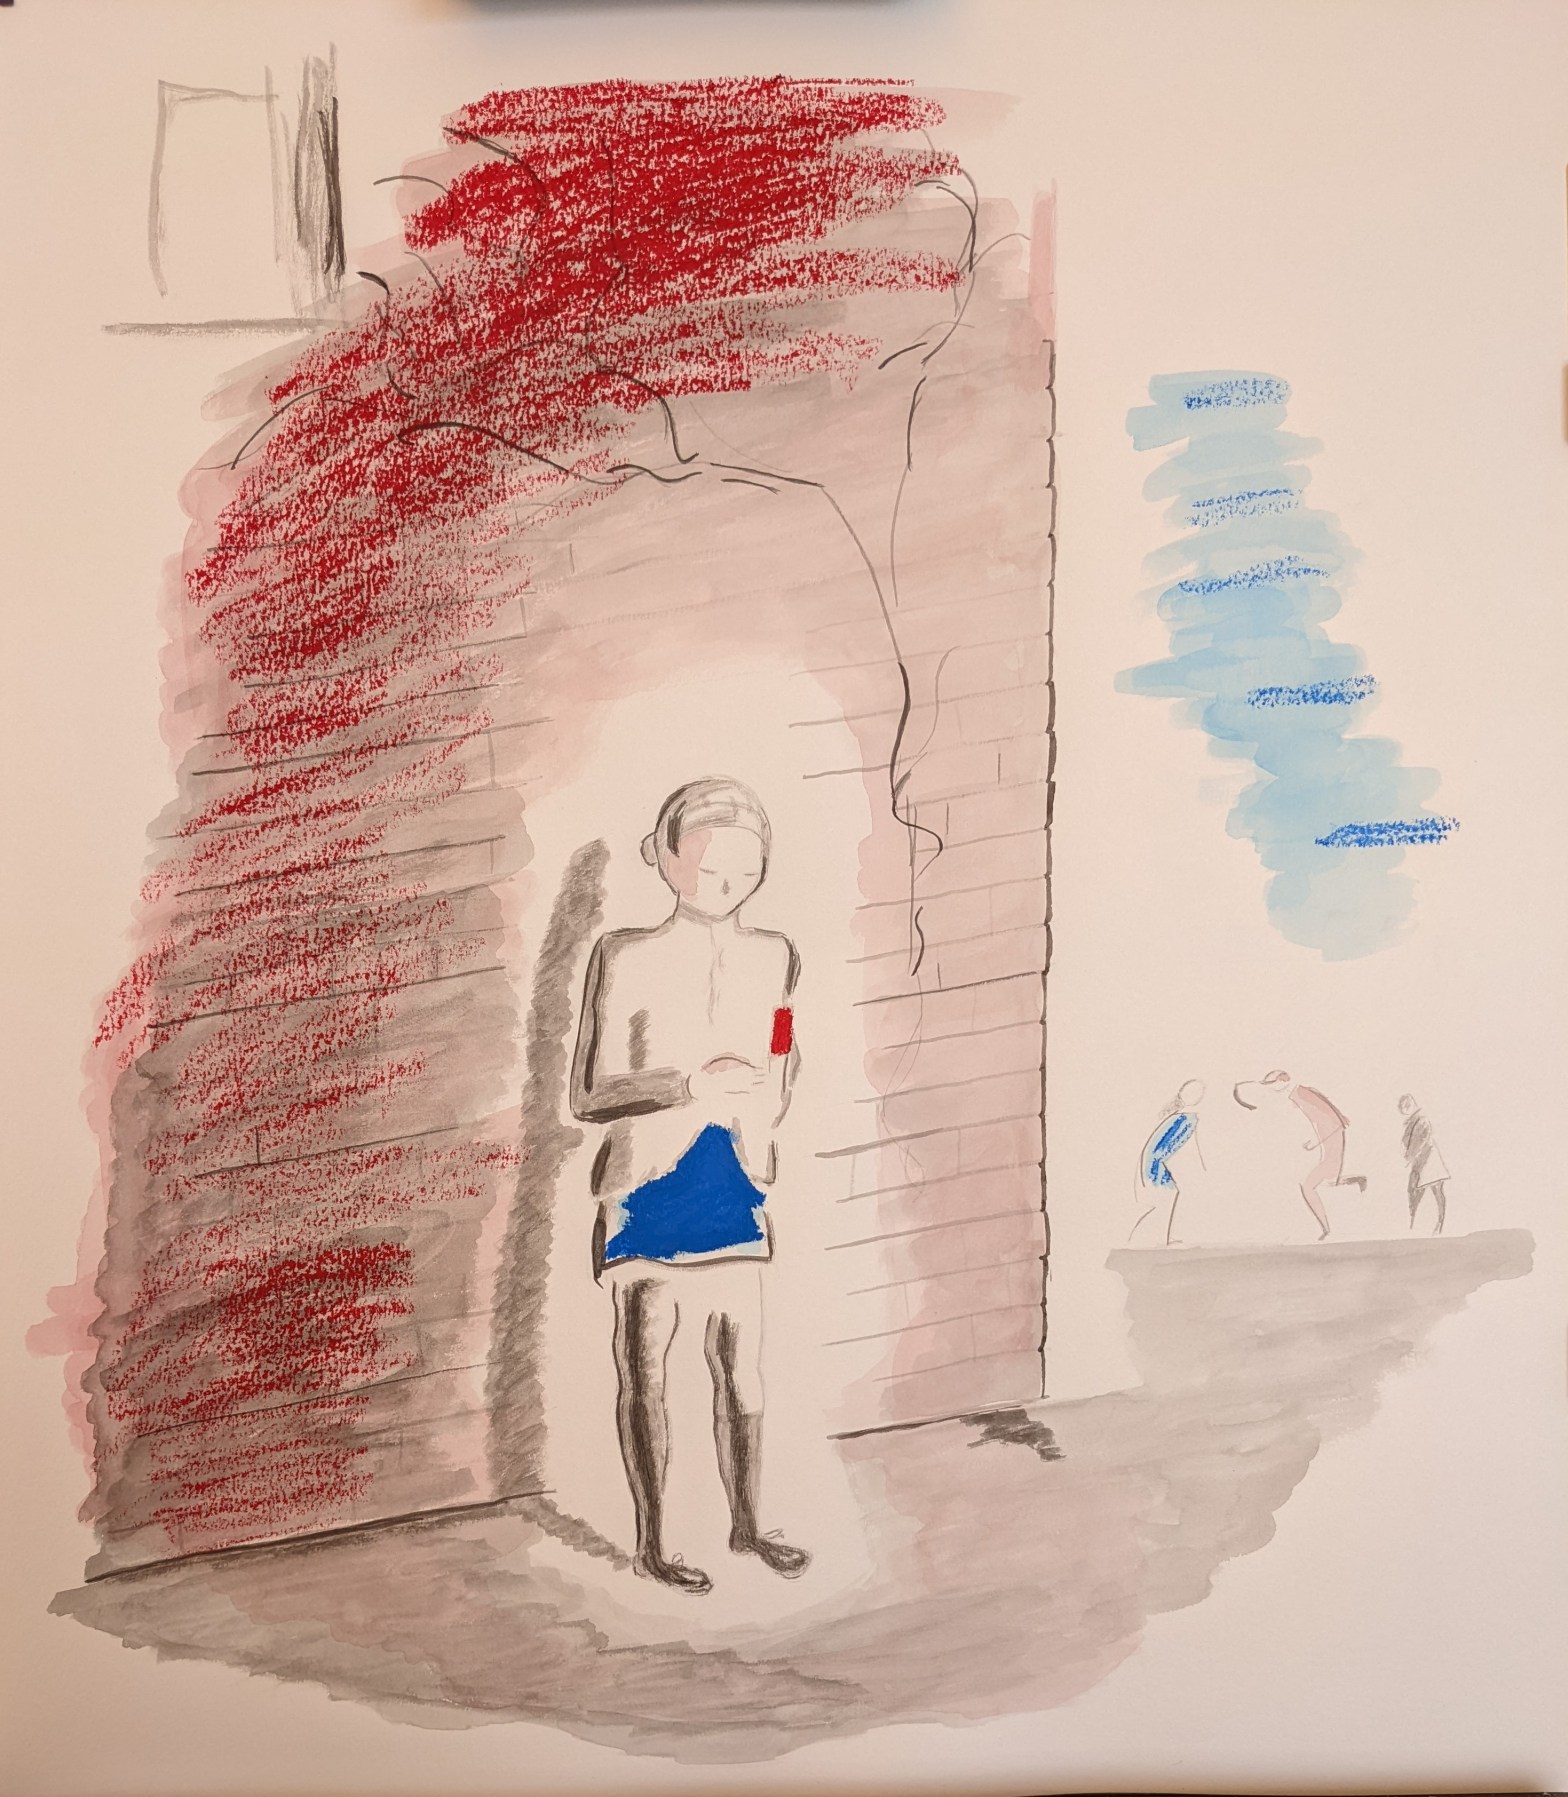
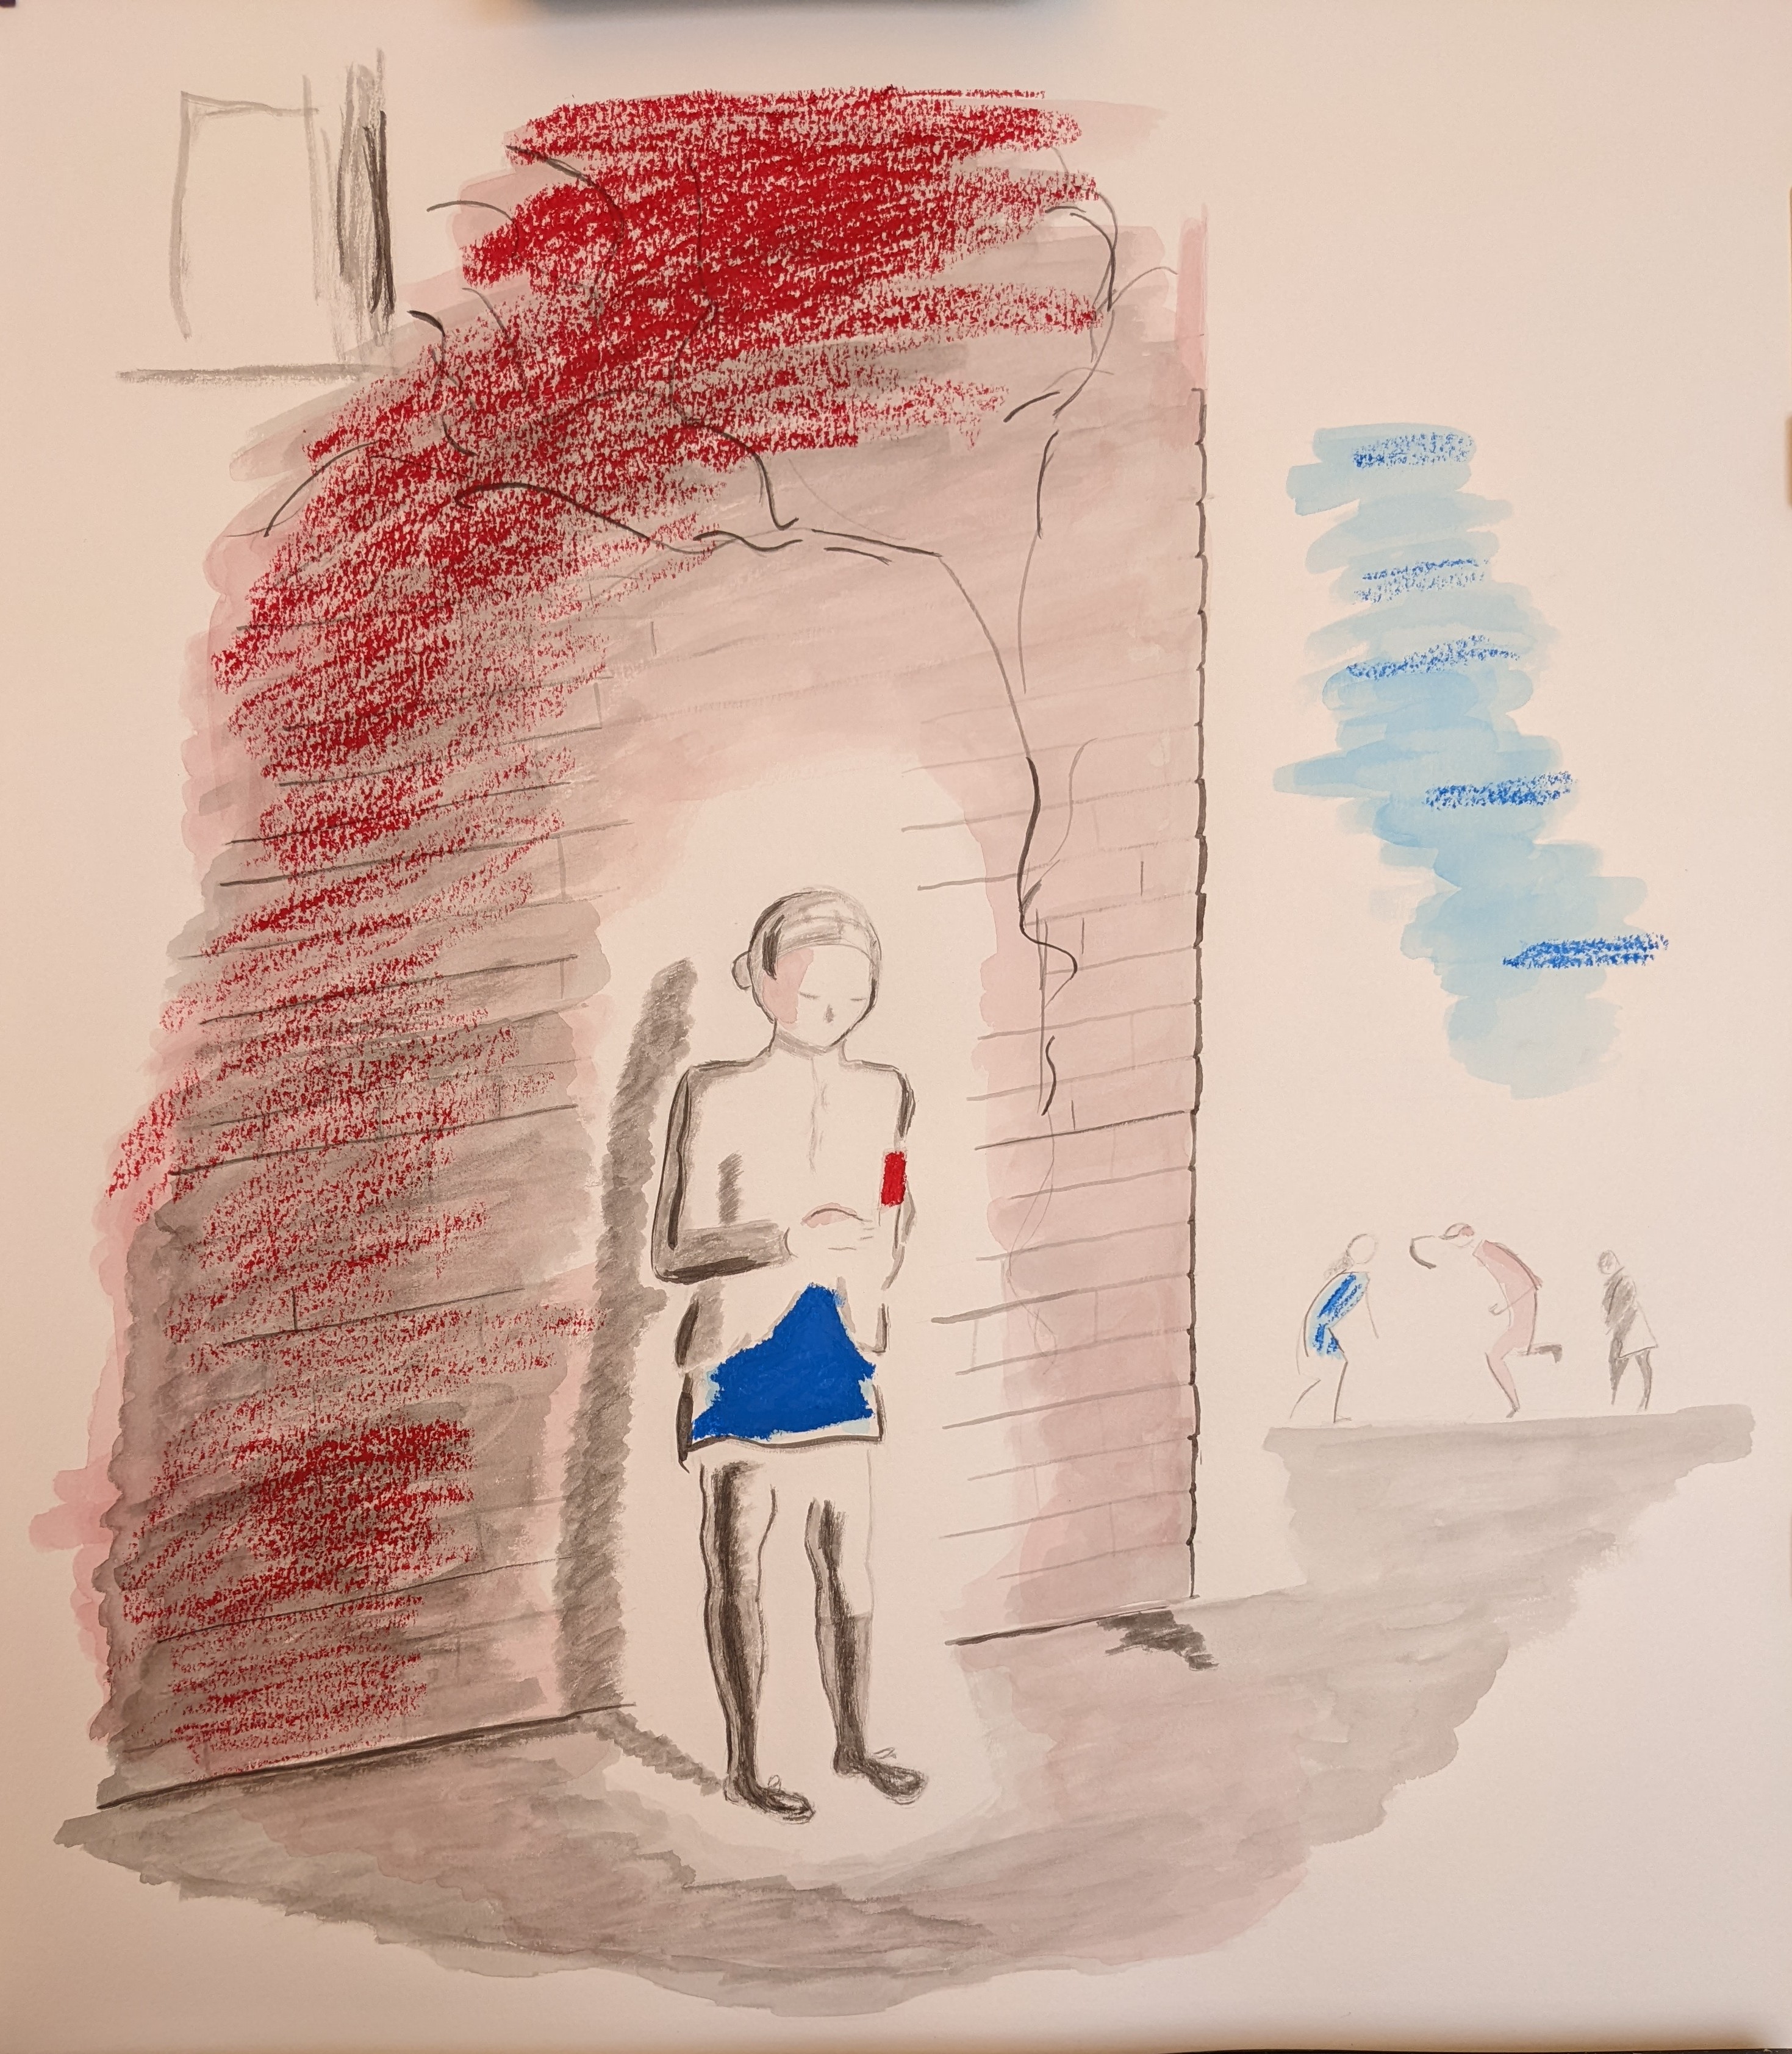
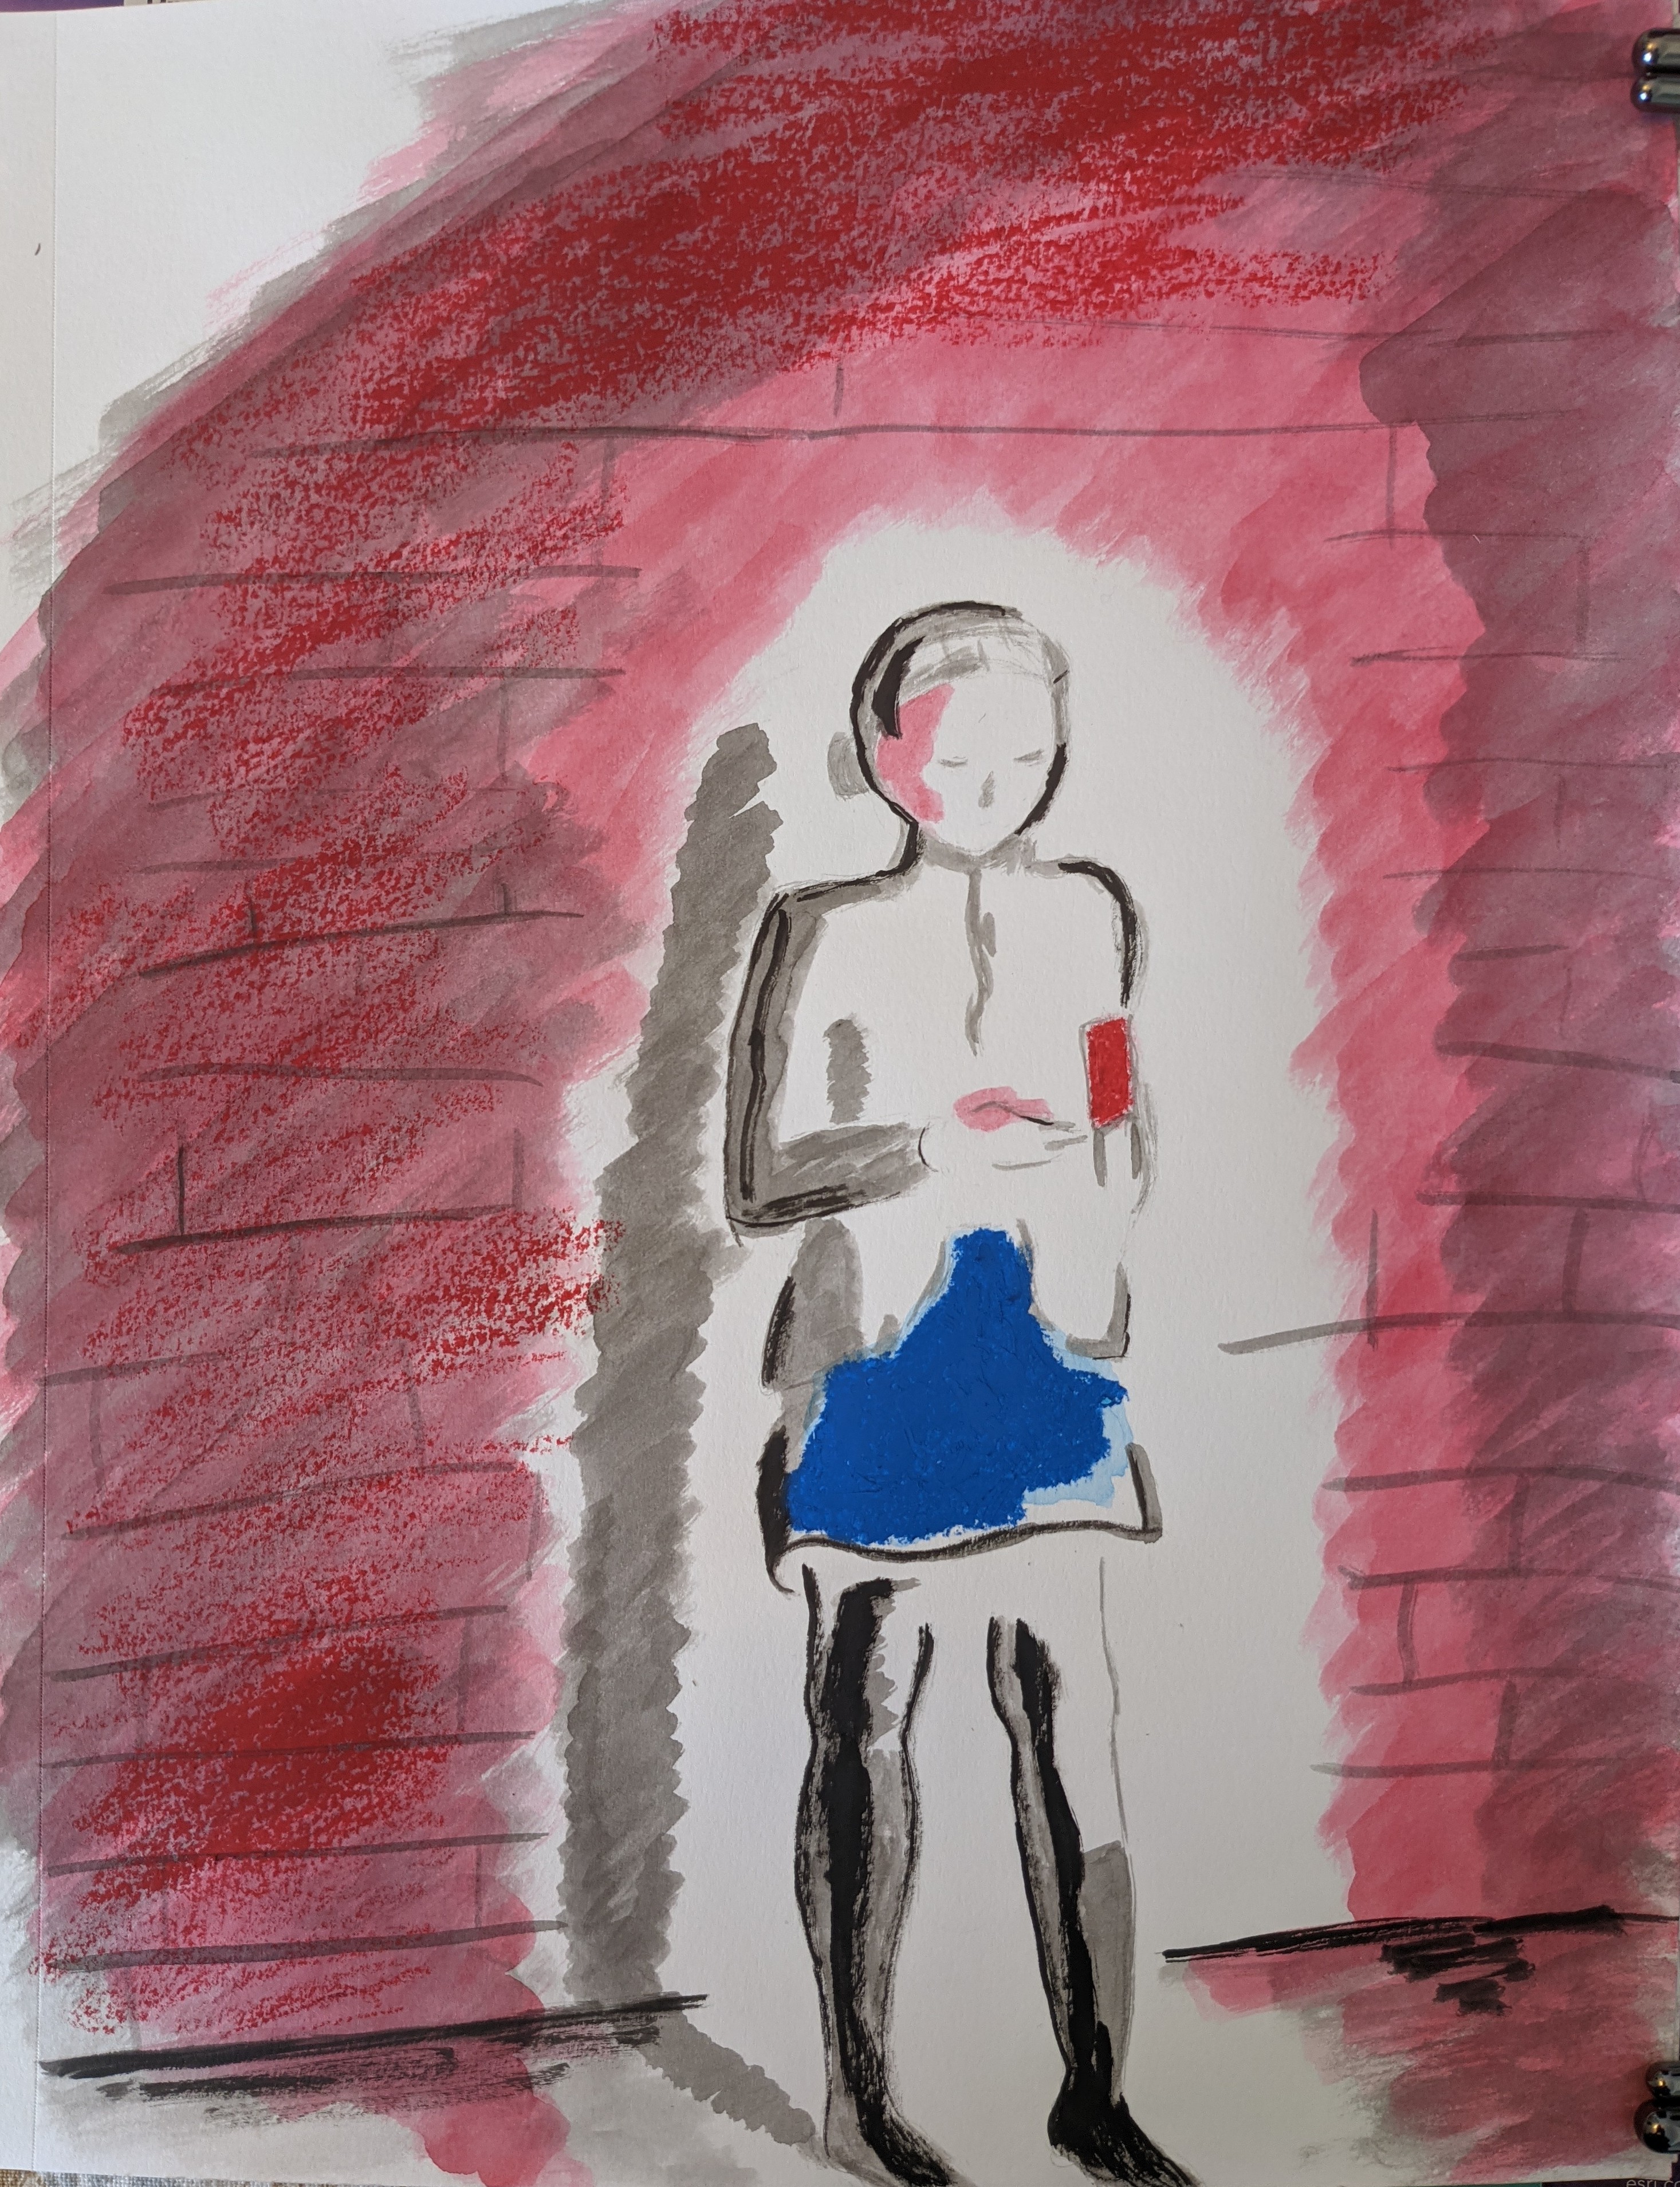
I love this illustration from the book The Hundred Dresses (page 14). The original artist, Louis Slobodkin, actually studied as a sculptor before finding his way into illustration.
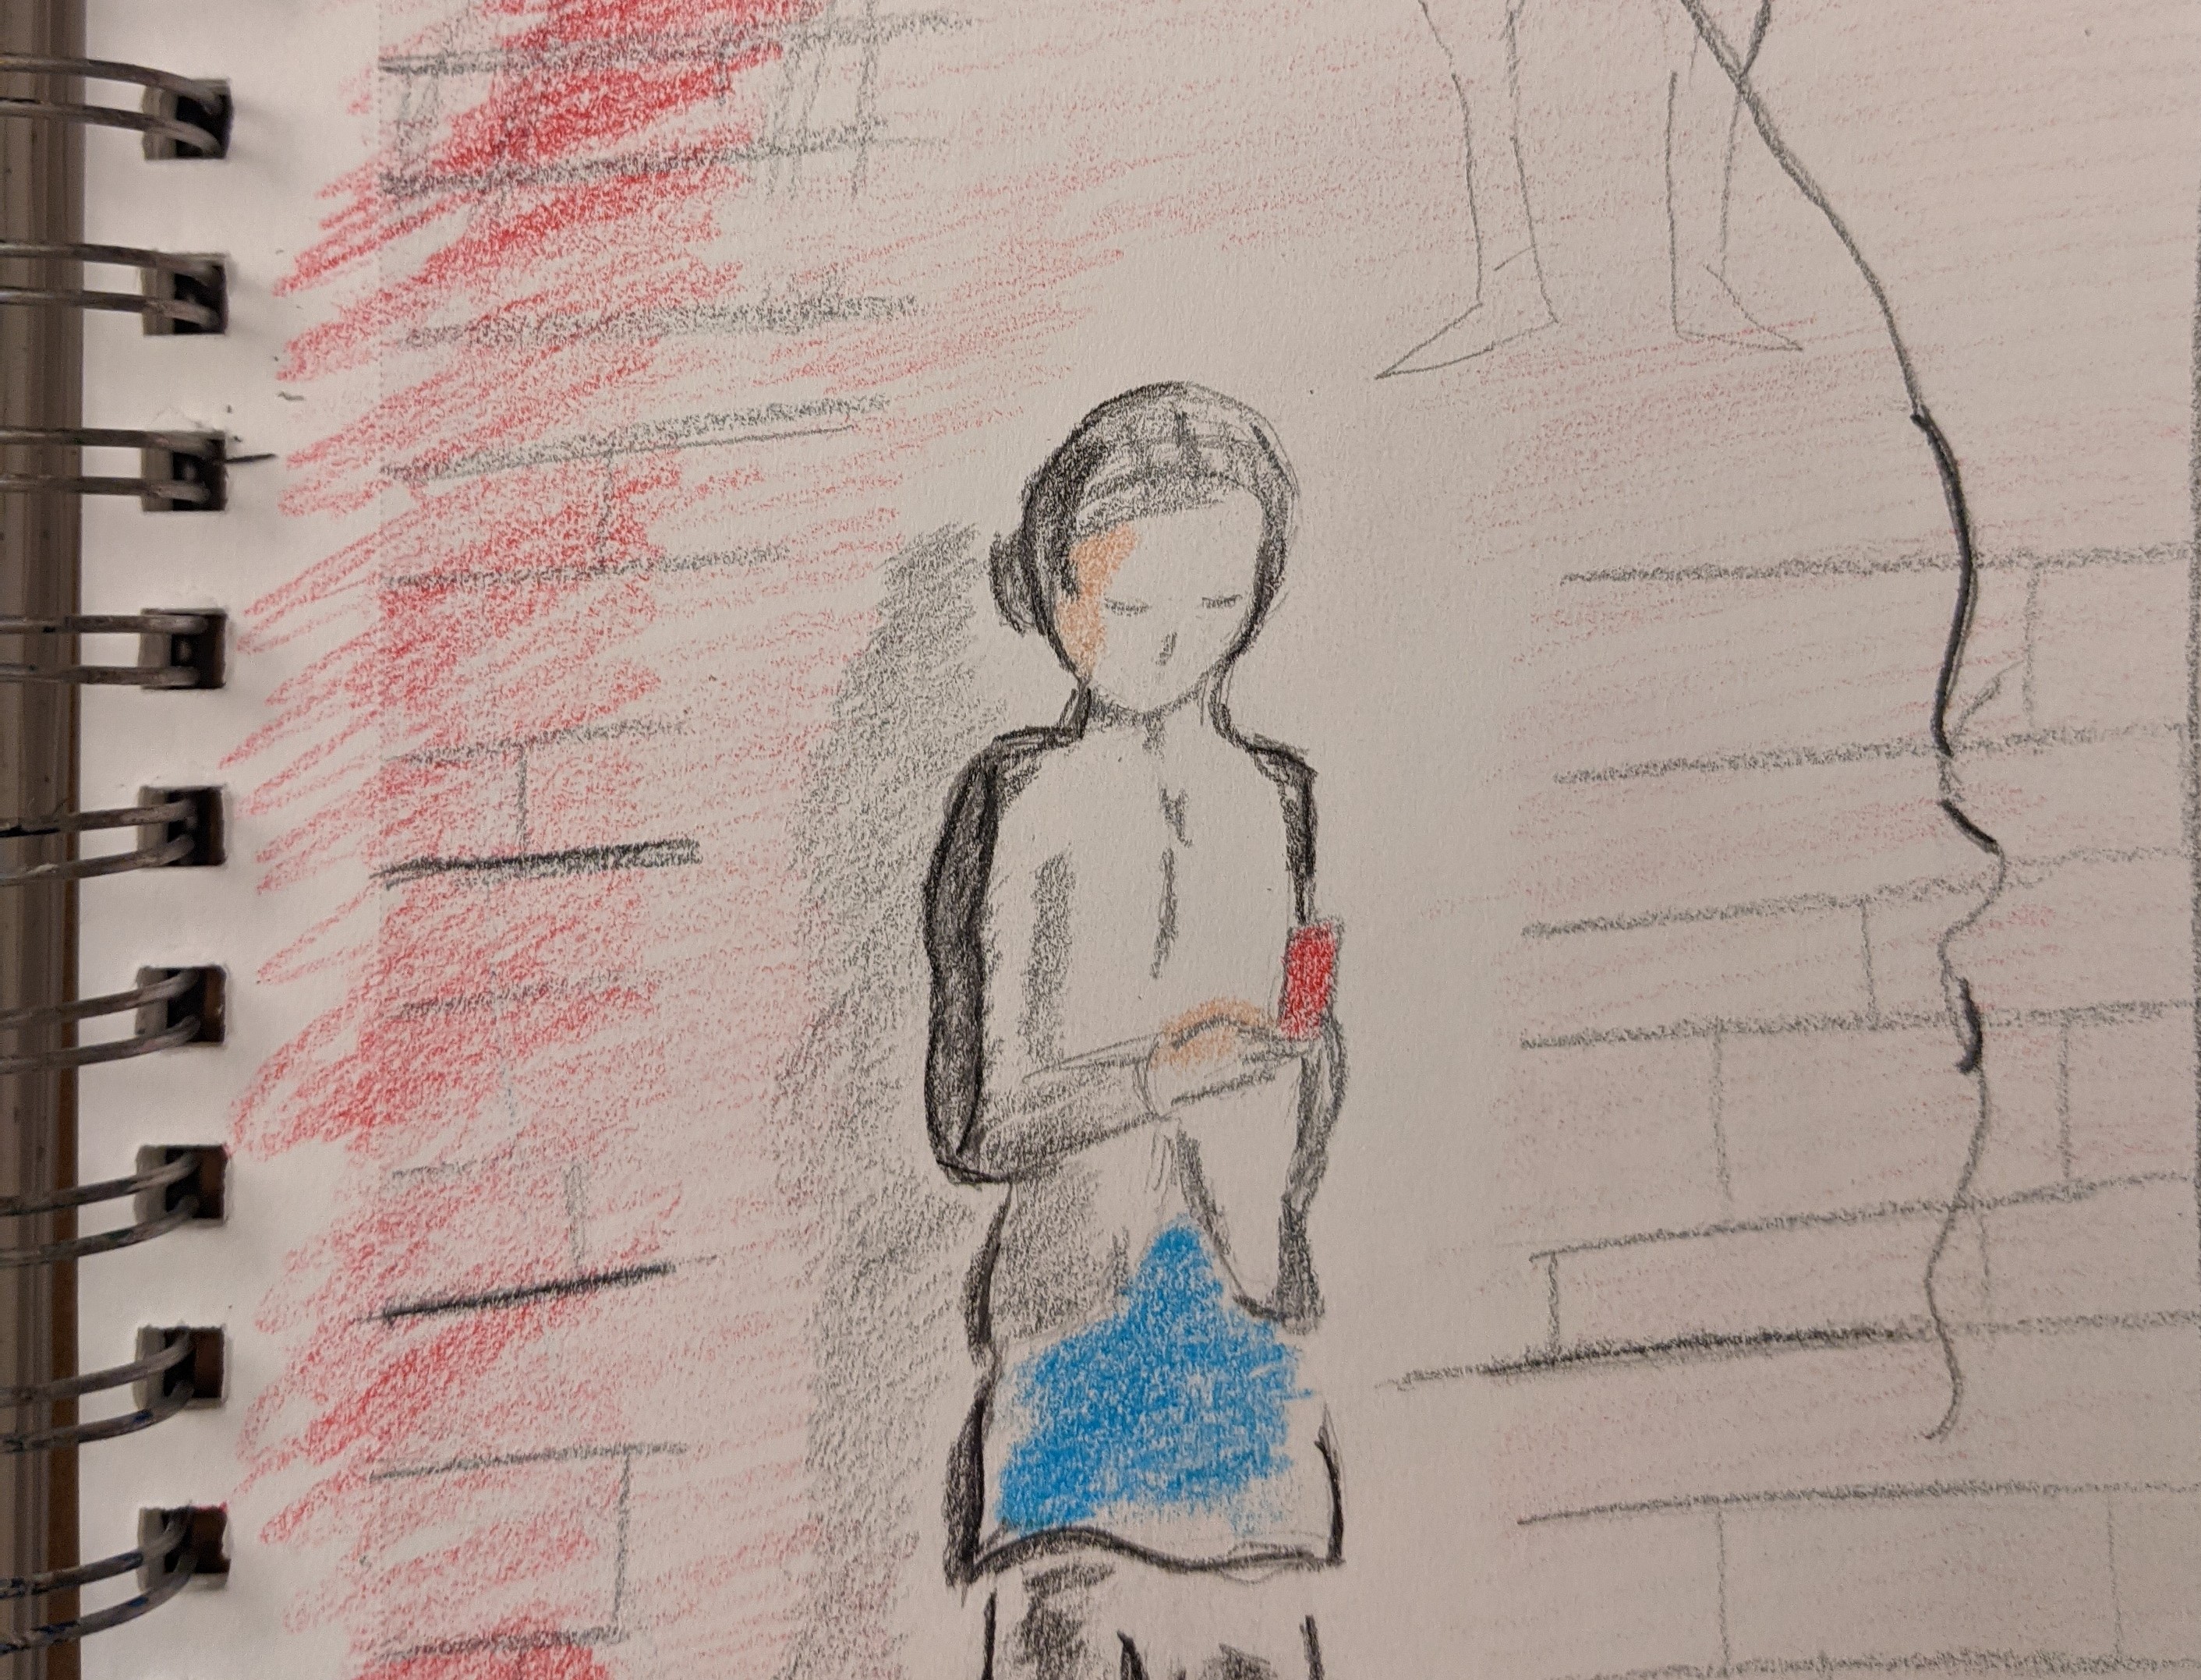
I had to warm up with a colored pencil sketch and then a still-not-very-precise study before I was ready to try copying the whole illustration. My final version is large-scale compared to the printed reference, measuring 20×22.5 inches.
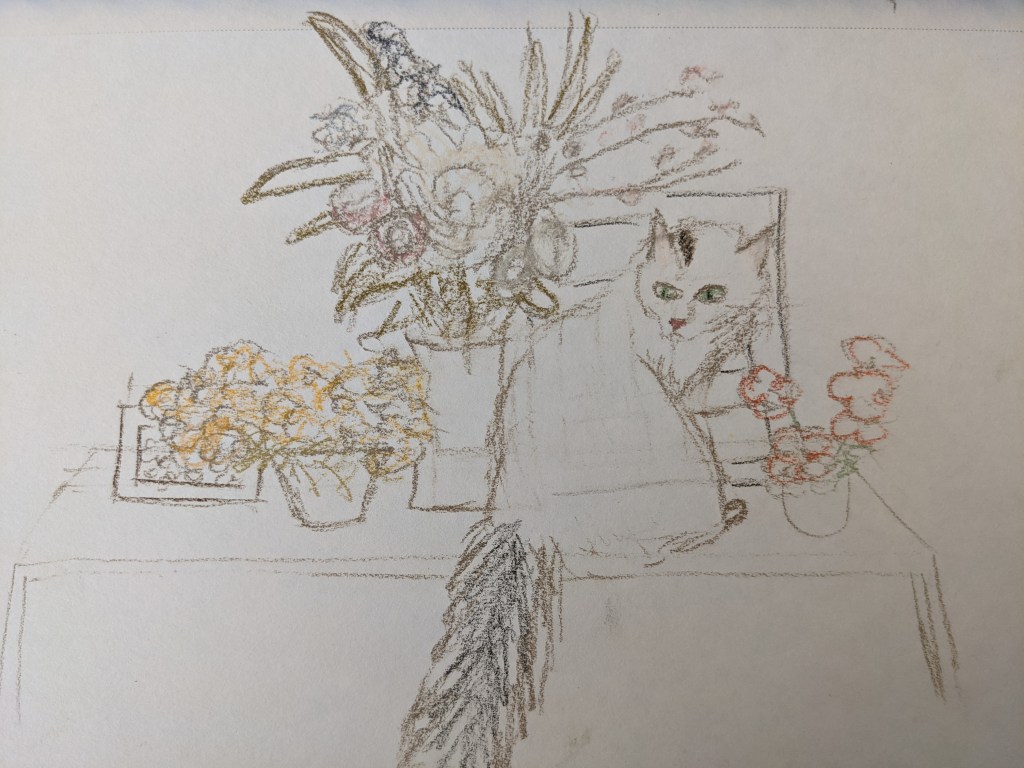
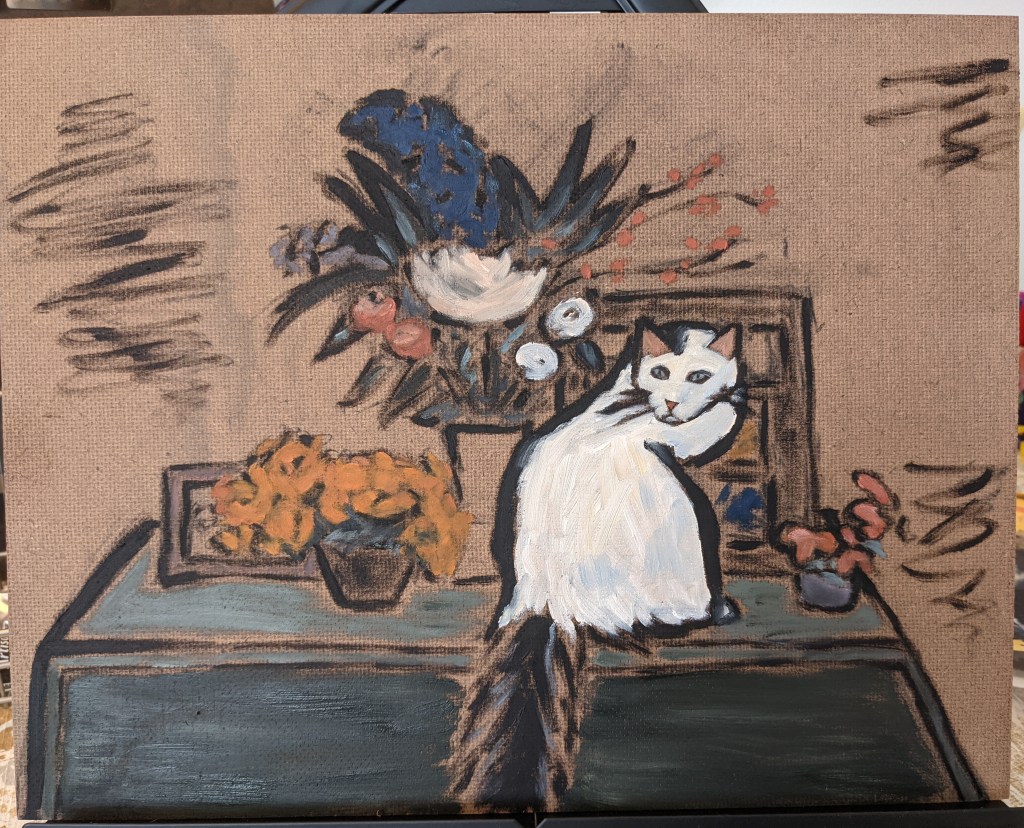
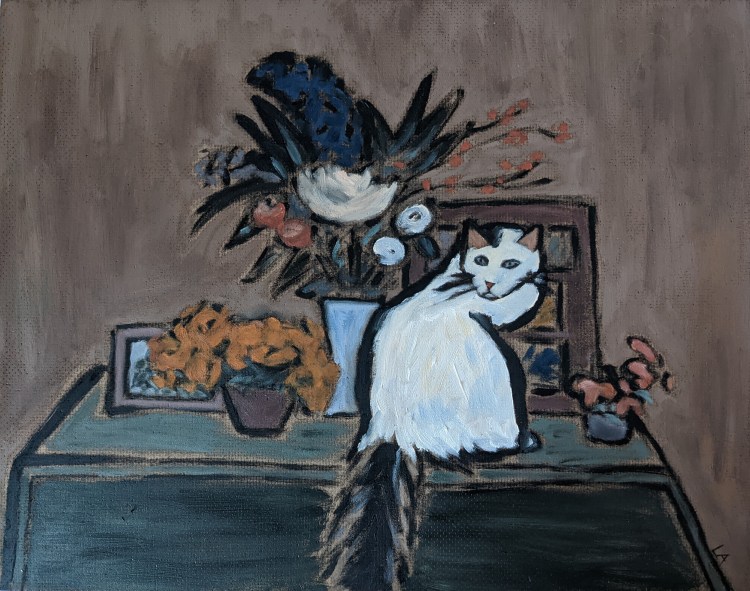
Meet Cicero, my cat. The day I started this I was full of disappointment about a different piece, so I decided to start pouring all that energy into something new. It started with a sketch in pastel pencils and grew into a cozy-feeling oil painting. This is my second no-gesso painting.
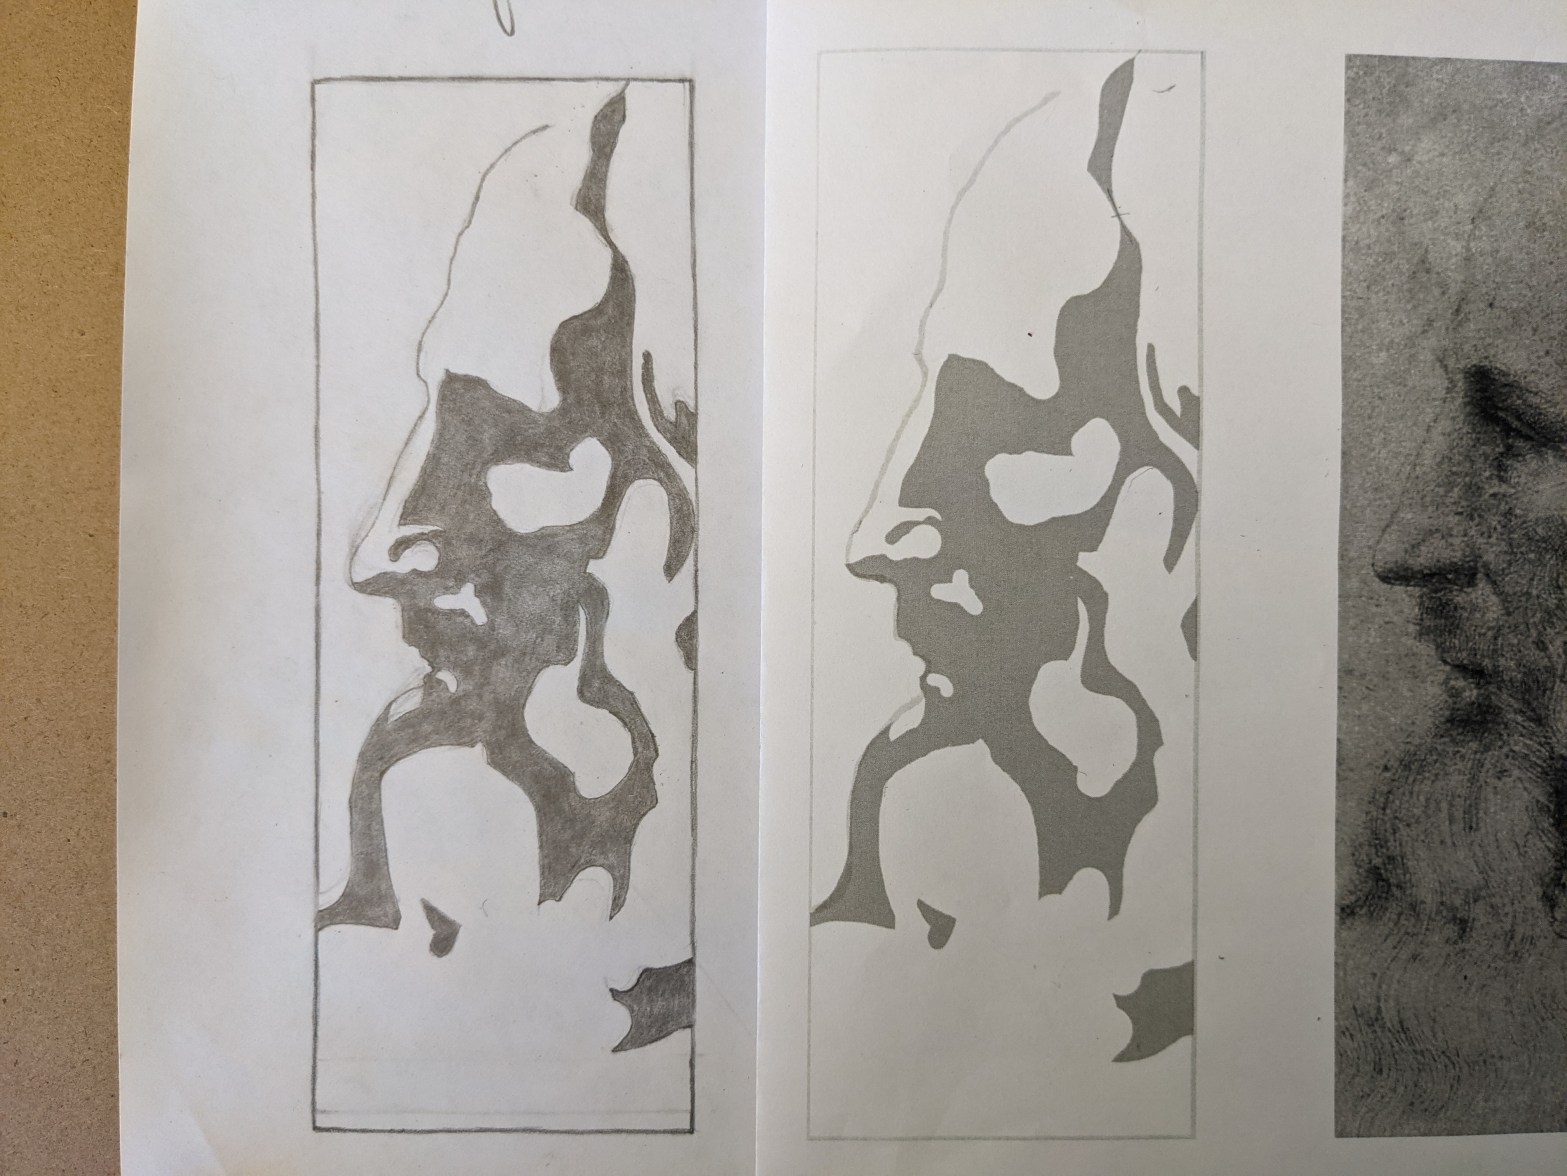
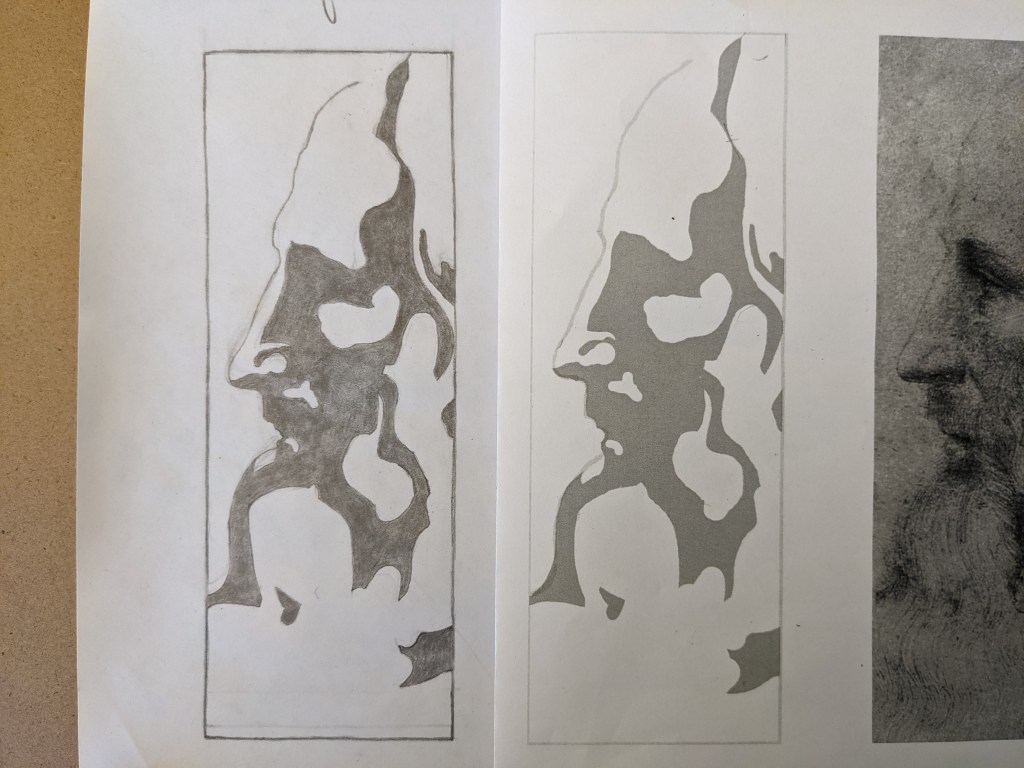
This is my work so far on an assignment to hand draw a copy of a DaVinci drawing. It is painstaking work. And for the next step I’m supposed to make second copy, this time without looking at the reference while I draw! I can look at the reference before I draw, and I can stop drawing to check the reference again and see how my work compares, but I won’t be able to put pencil to paper while the reference is visible. And no measuring. Just thinking about it makes me tired.
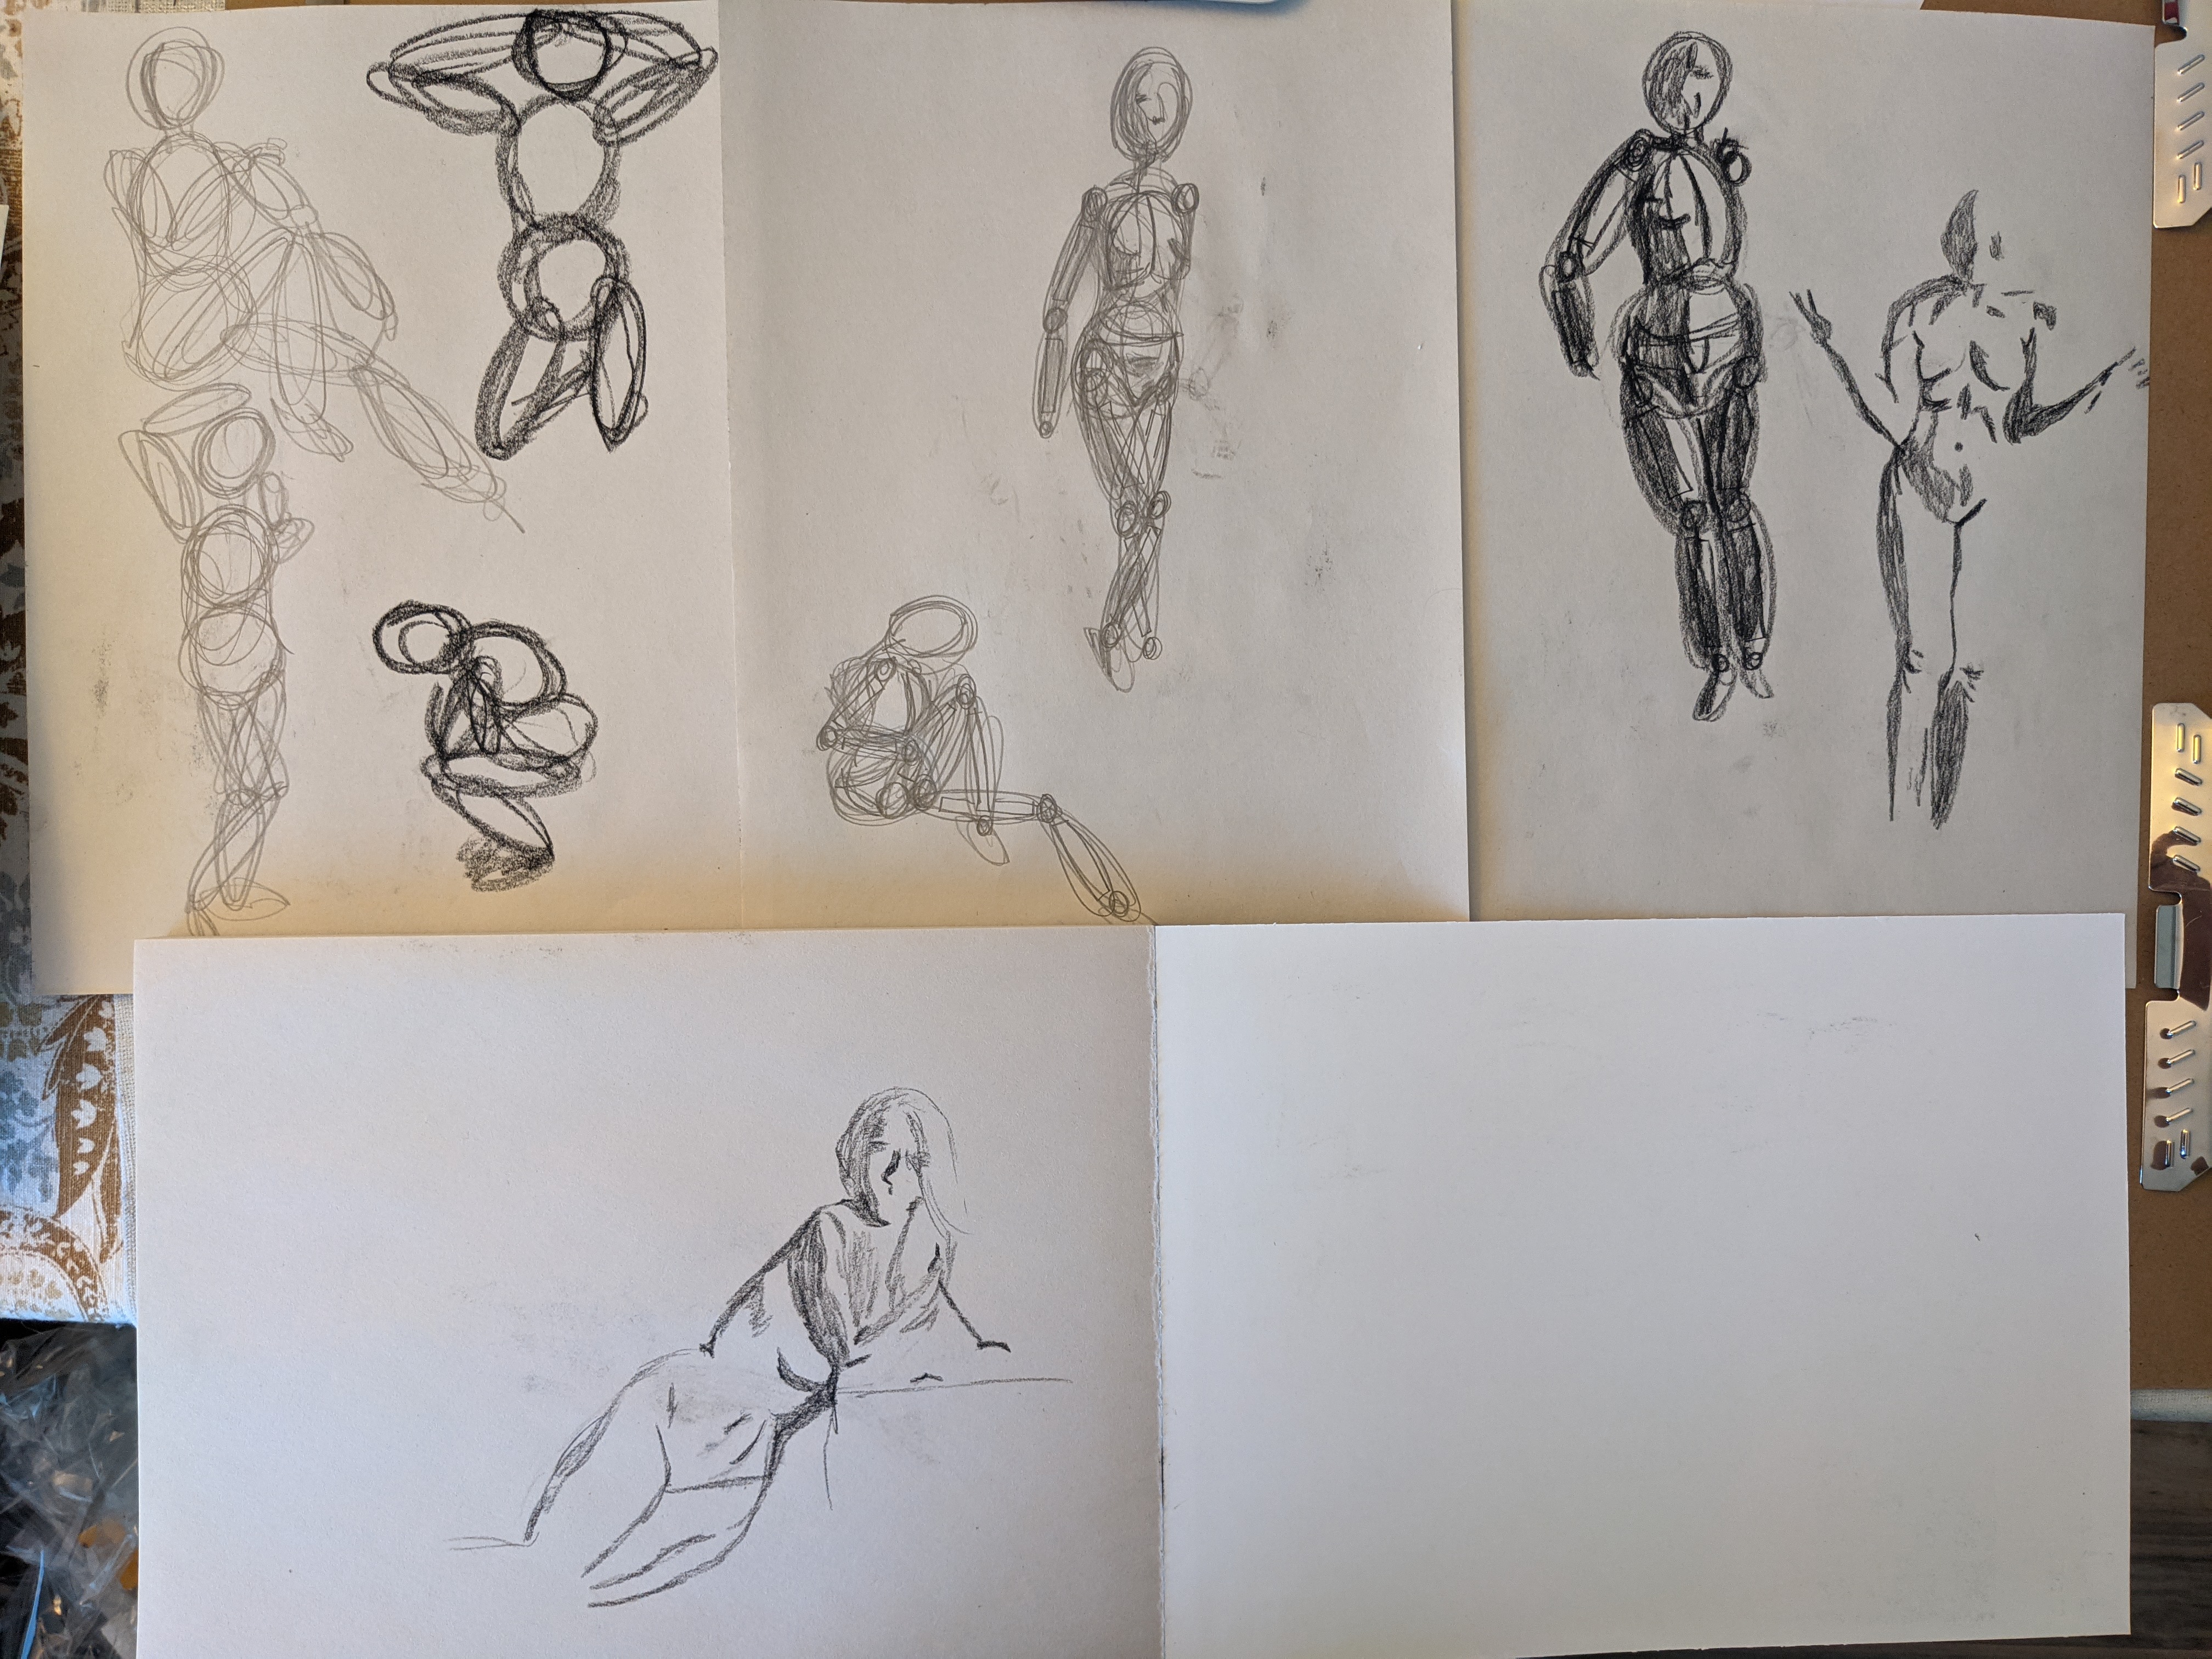
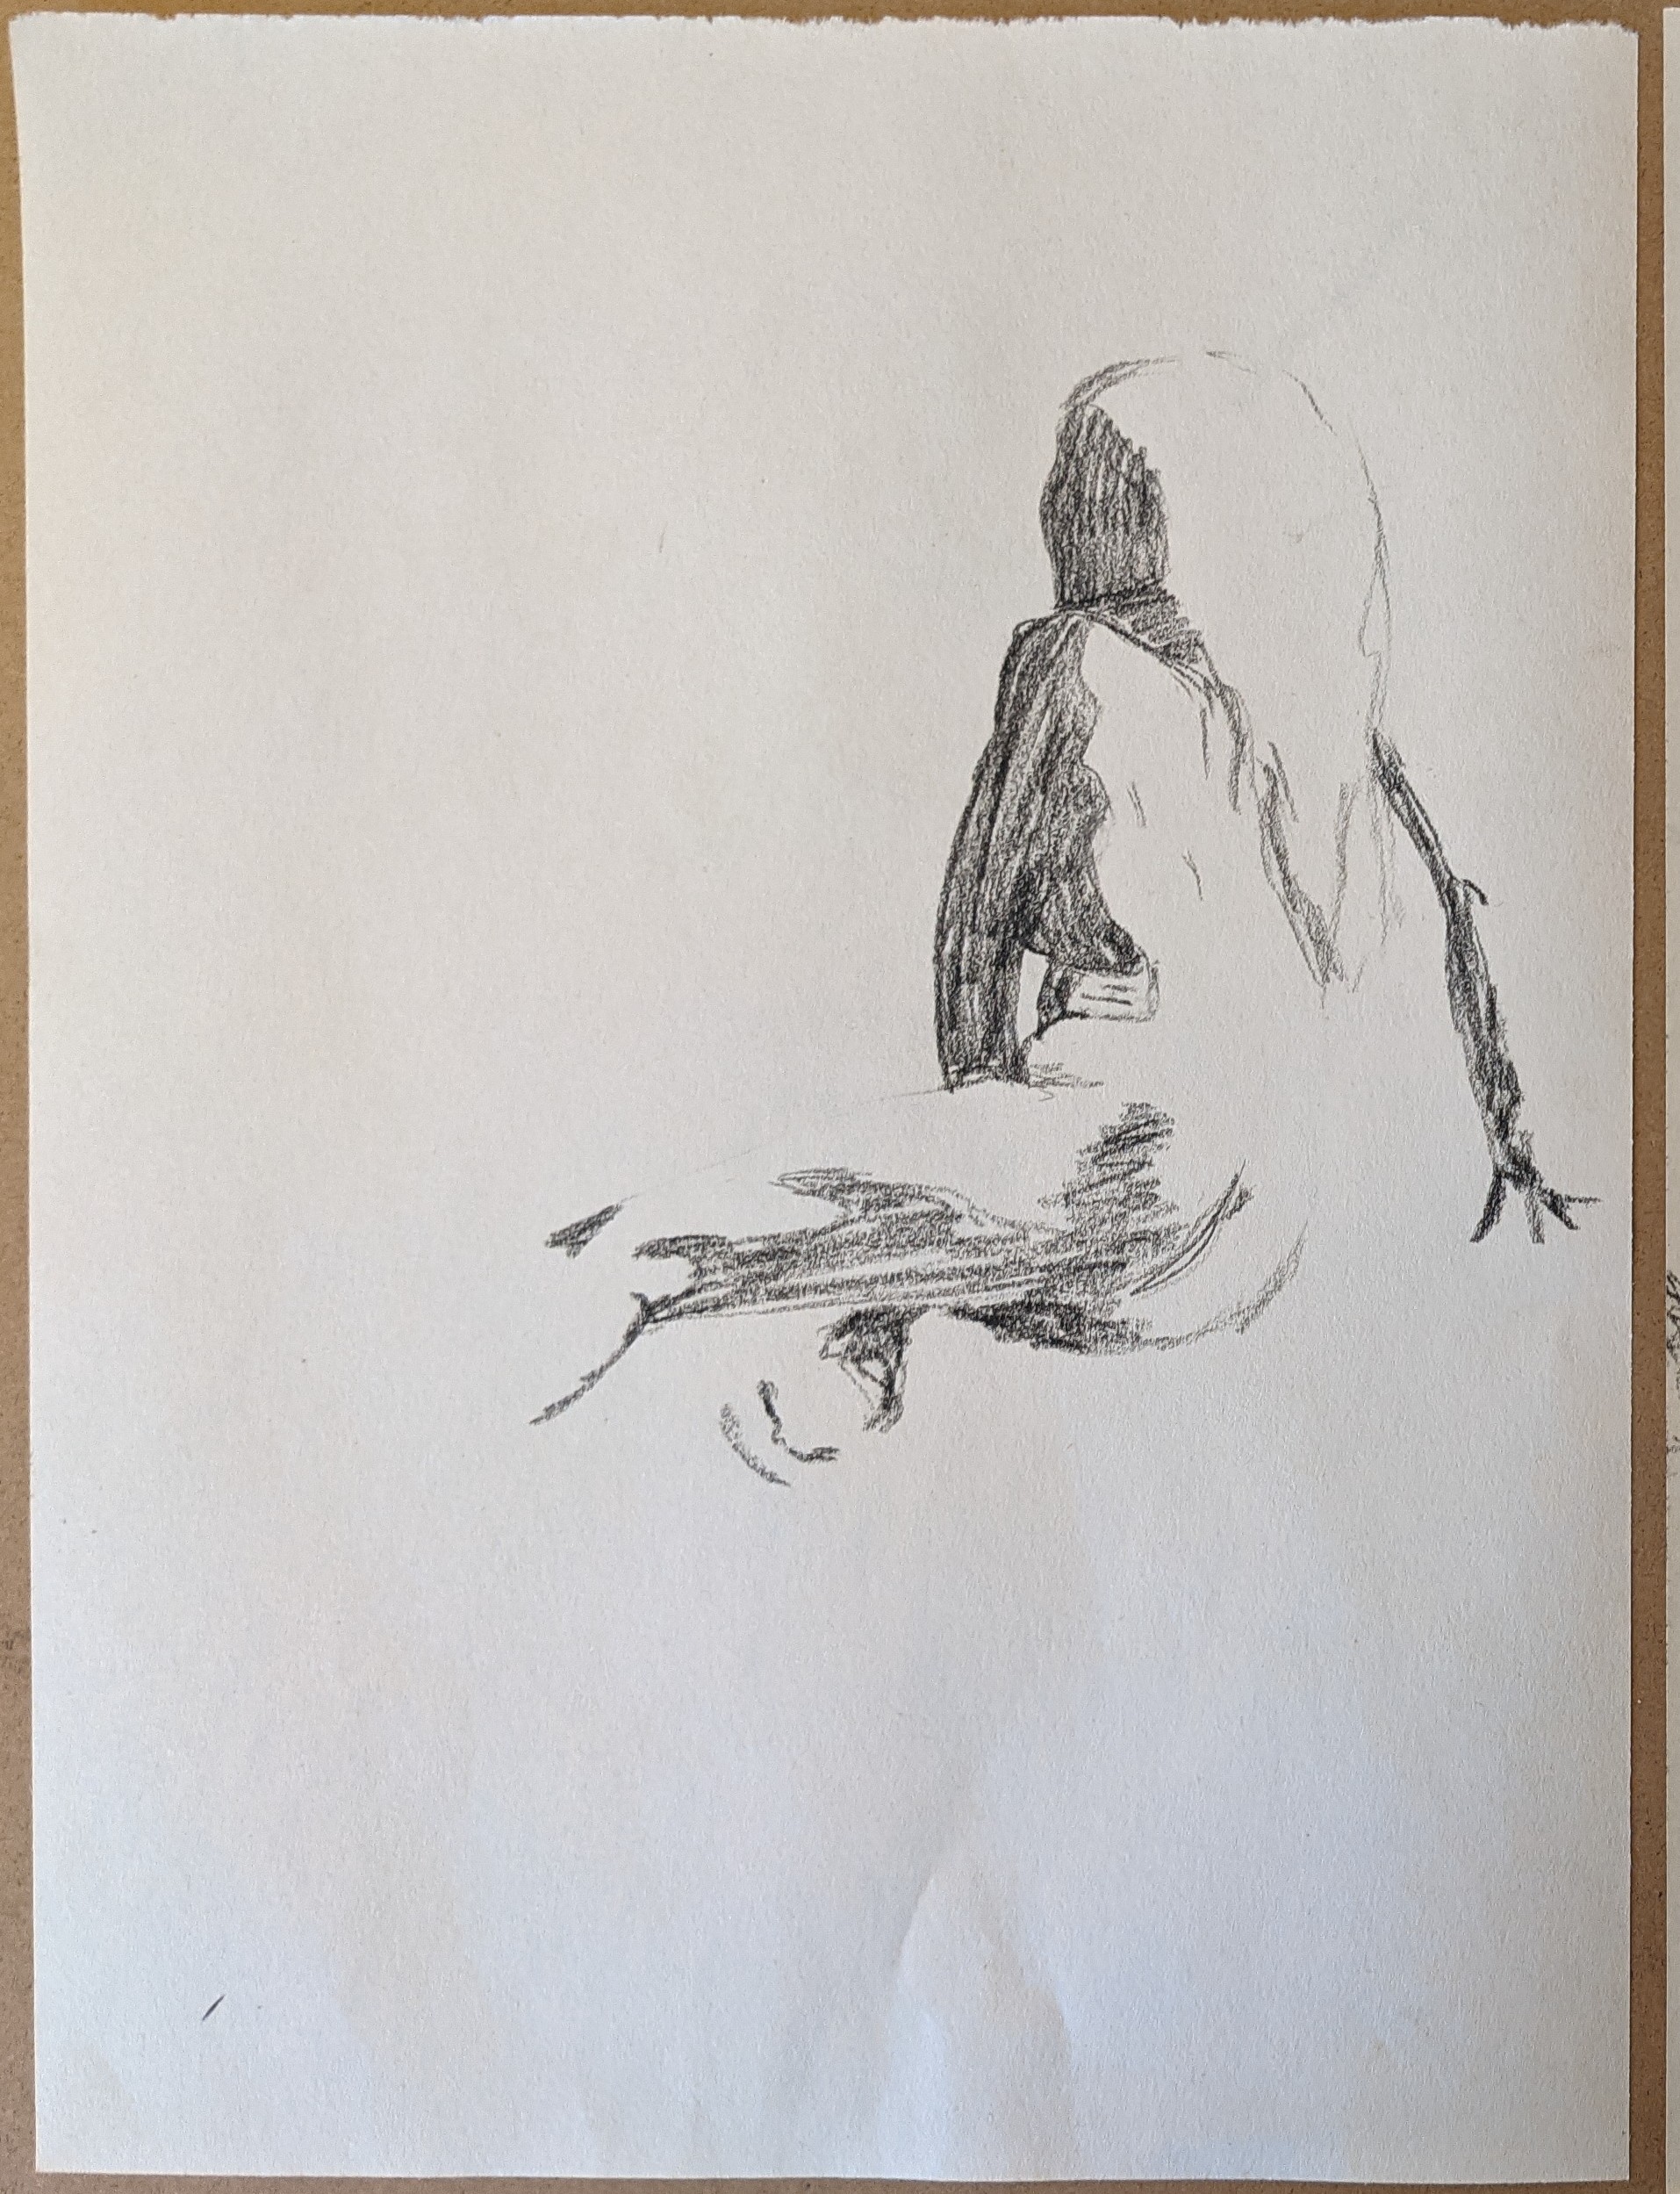
I’ve also been getting a little more practice with figure drawing. Same parameters as last time. First, just capture gestures, then add structure and shadow, and, lastly, just draw the shadow shapes.
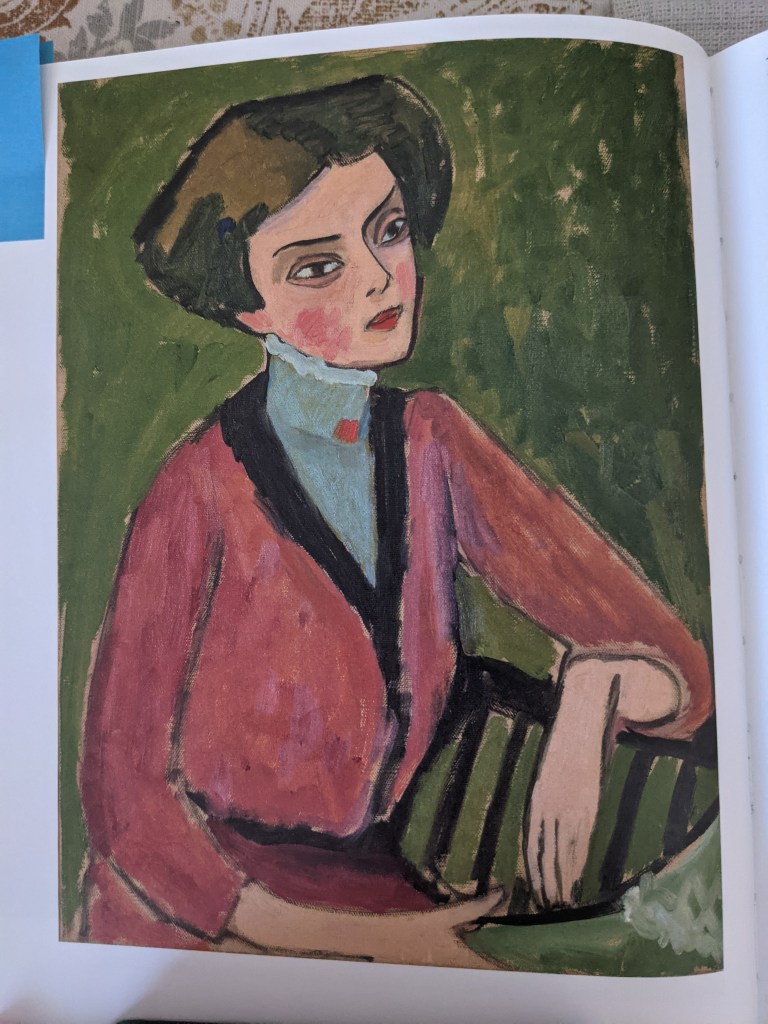
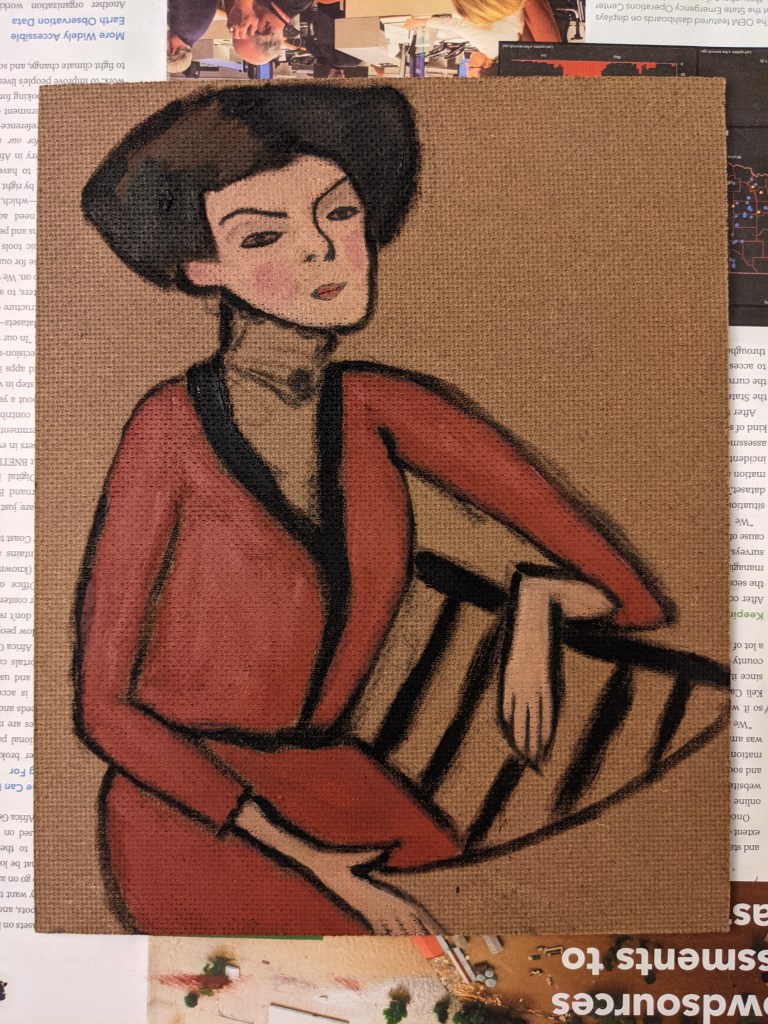
This is my interpretation of a portrait done by Gabriele Munter, one of my favorite painters.
This is the painting that inspired mine.
To imitate her style of painting on un-gessoed cardboard, I painted this on the un-gessoed back-side of hardboard. The texture is a little intense so next time I’ll try sanding the surface before painting. But other than that, I liked how the un-gessoed surface enabled a different style of painting.
I wasn’t one-hundred percent sure what the object in the lower right corner was, but a hat seemed like an okay guess.
The woman’s face in my painting is flatter than the original, especially the eyes. I’m still deciding whether I want to go back in and add more depth there.
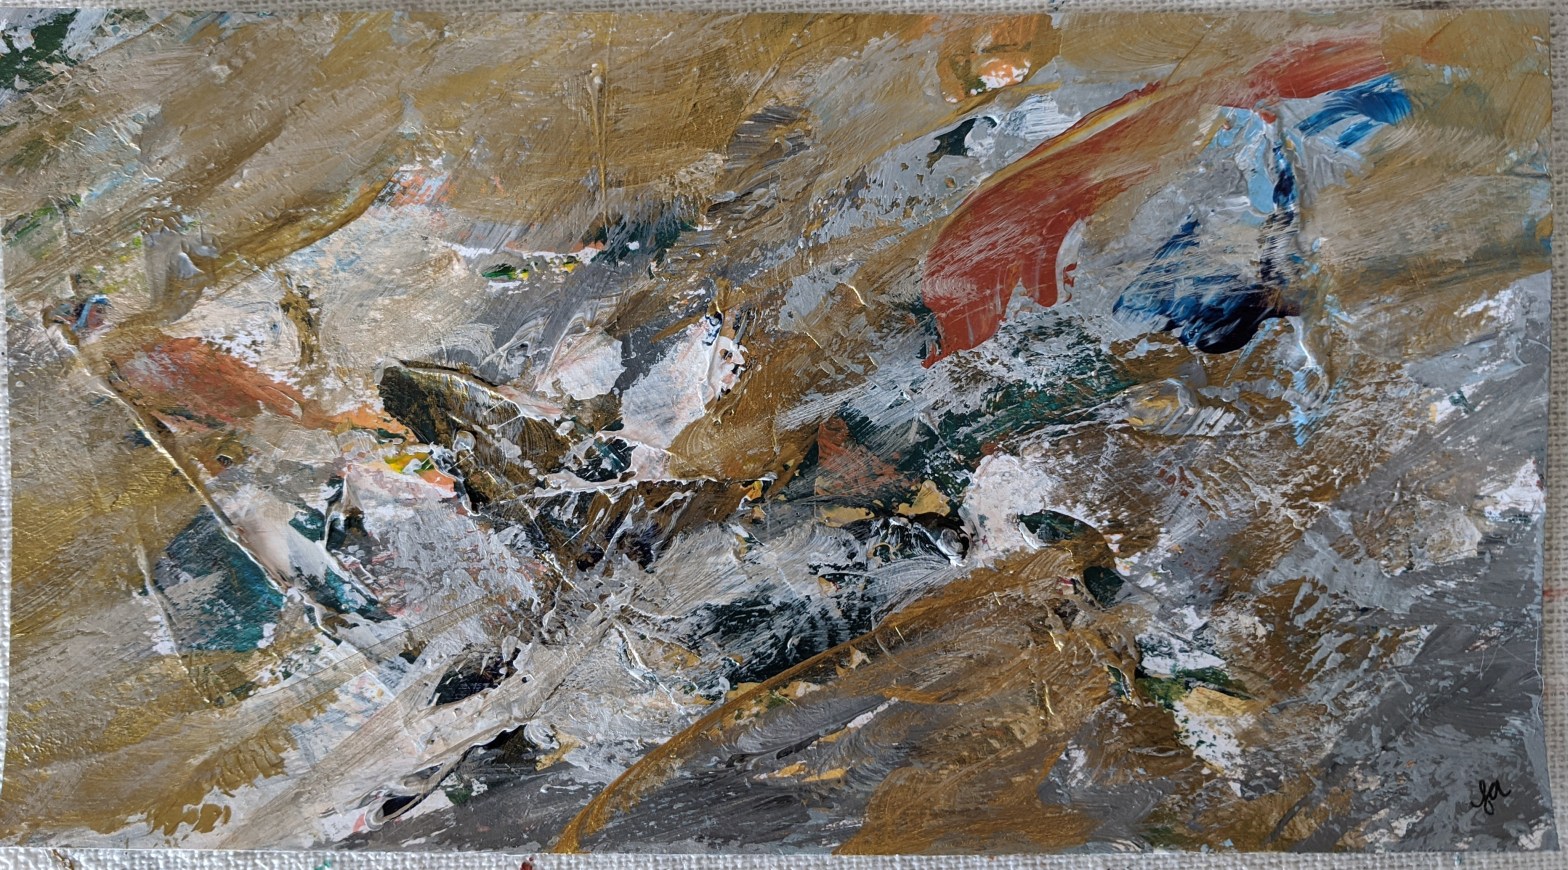
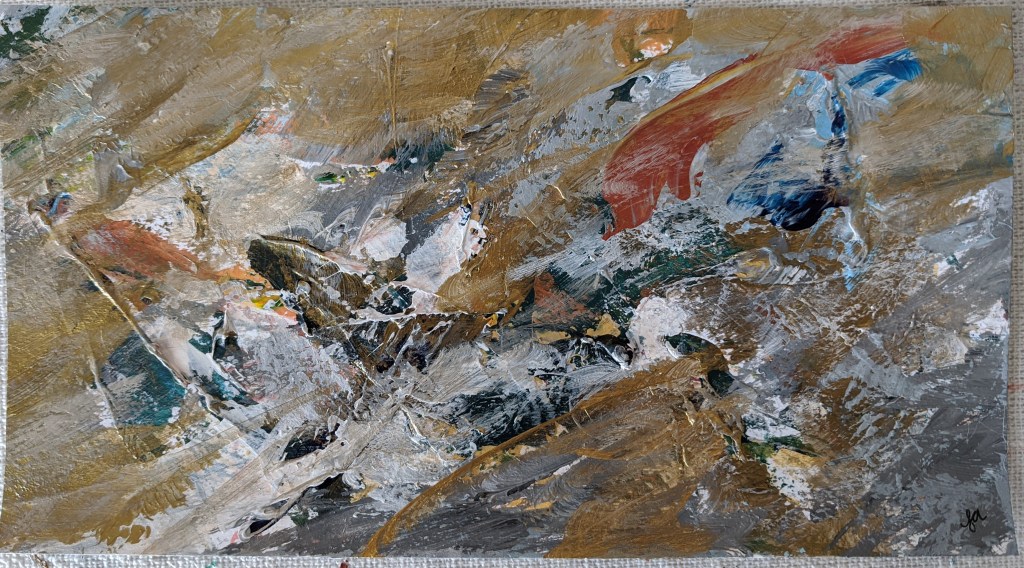
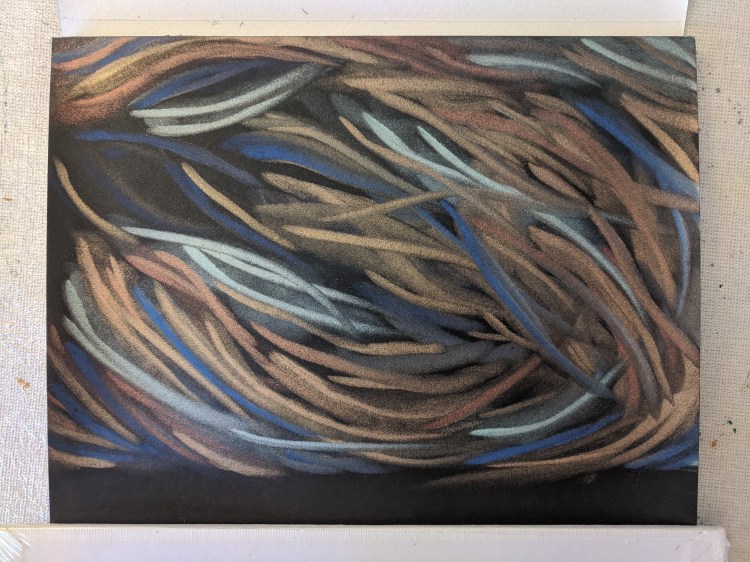
This is a corner of a page I used for wiping extra paint from several different paintings. This kind of painting (unplanned, accidental, instinctive) is not what I want to spend all my time doing, but I like it as an exercise. And as a way to feel like I’m not wasting the excess paint I squeeze out. Acrylic on paper, 4×7.5 inches.
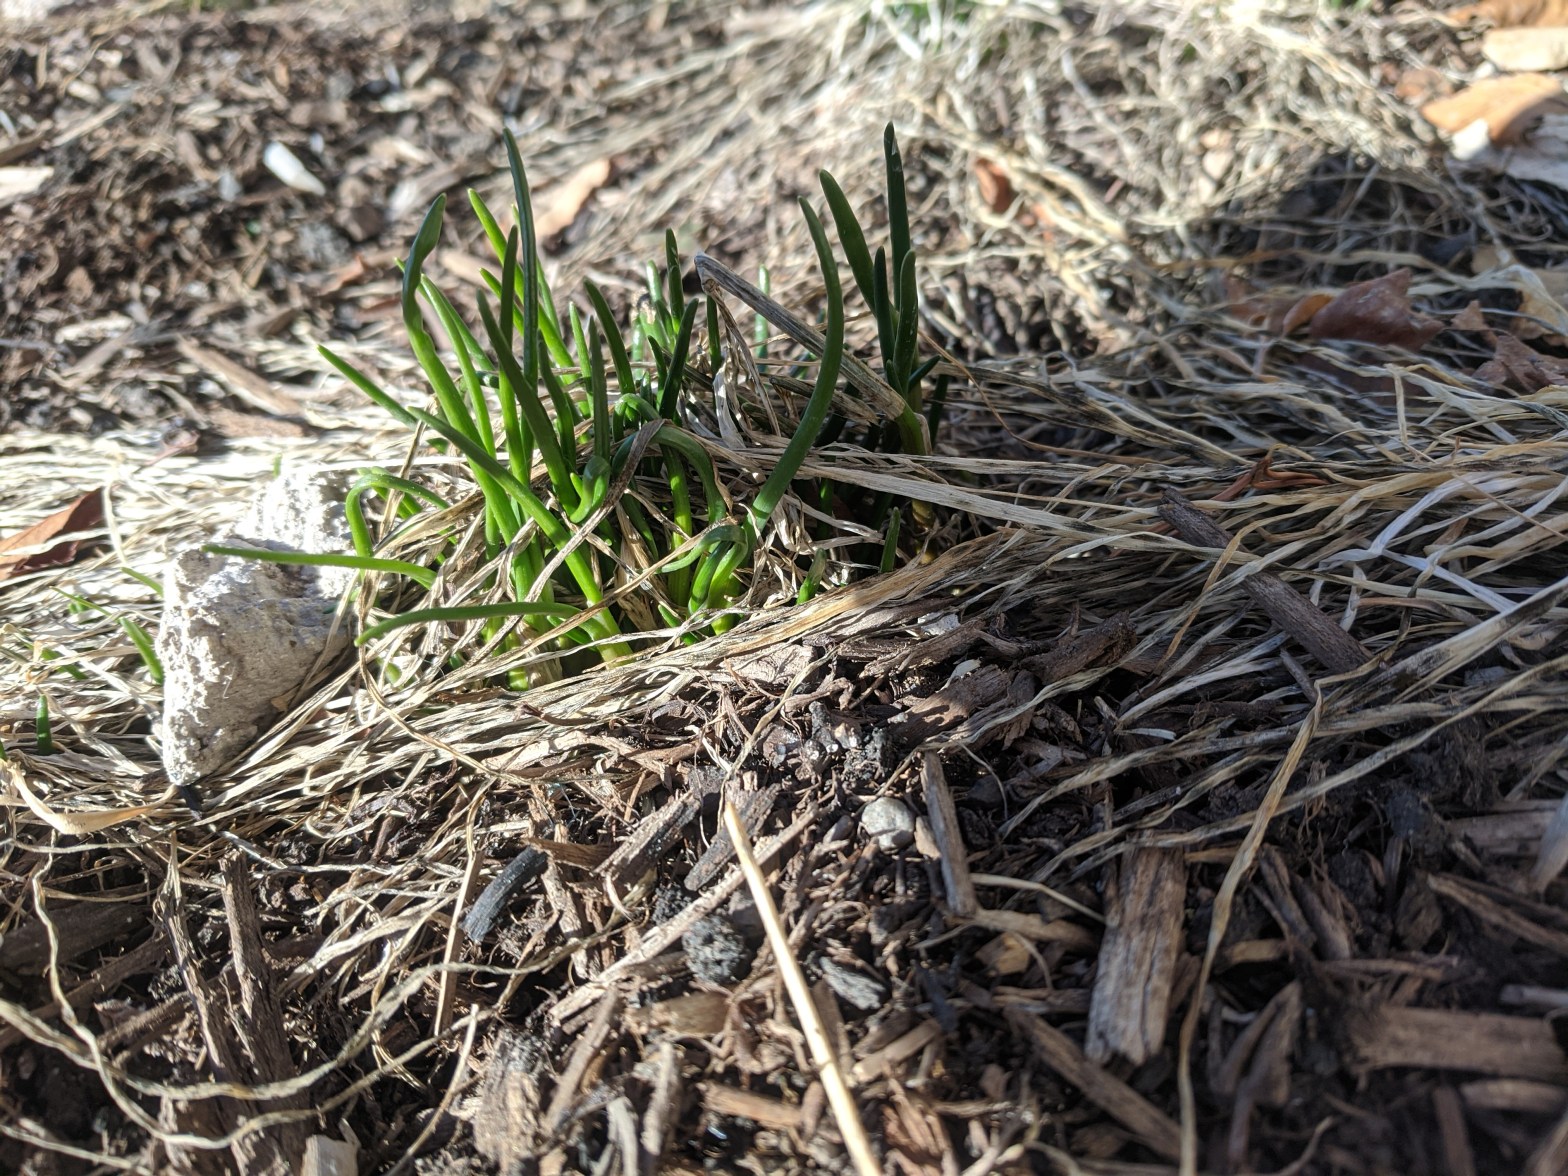
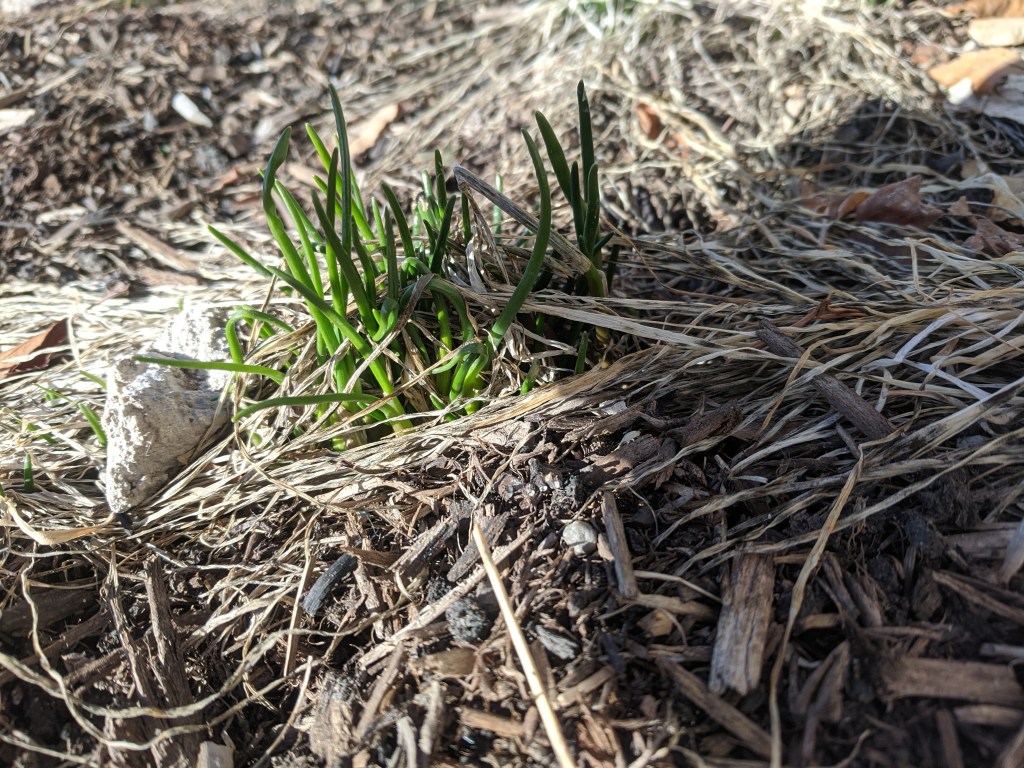
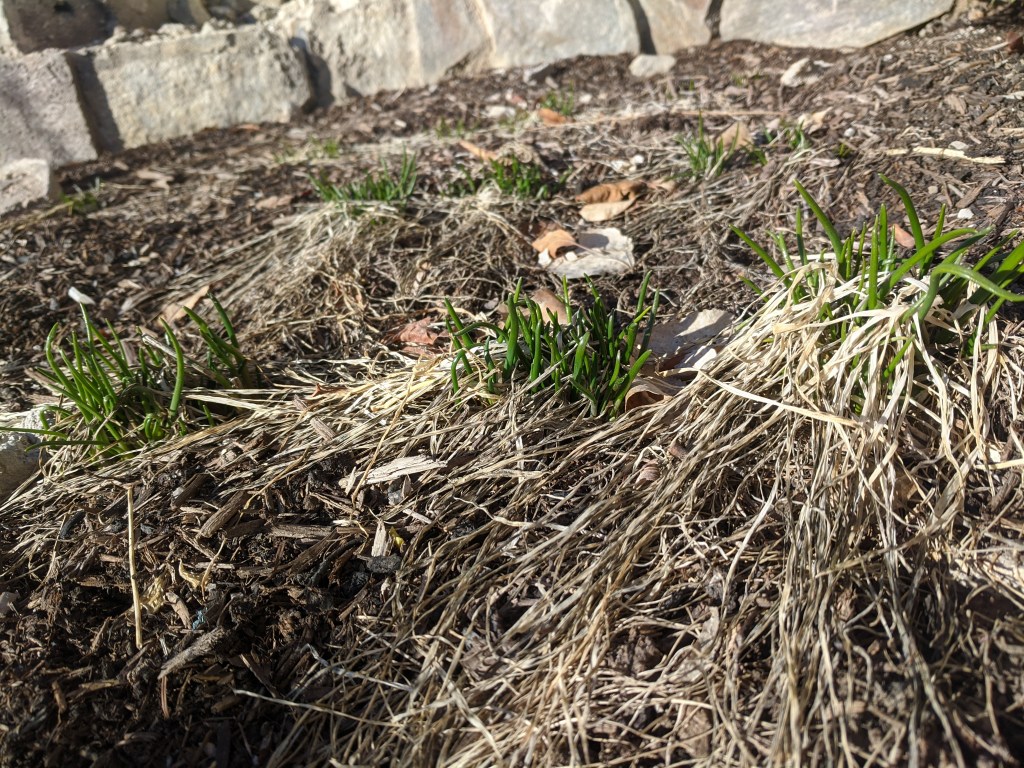
I spotted my first green growth of the year yesterday. These chives were weak enough last year (their first year, grown from seed) that I wasn’t sure I’d really see them again. But here they are, bringing some early strong green to my garden.
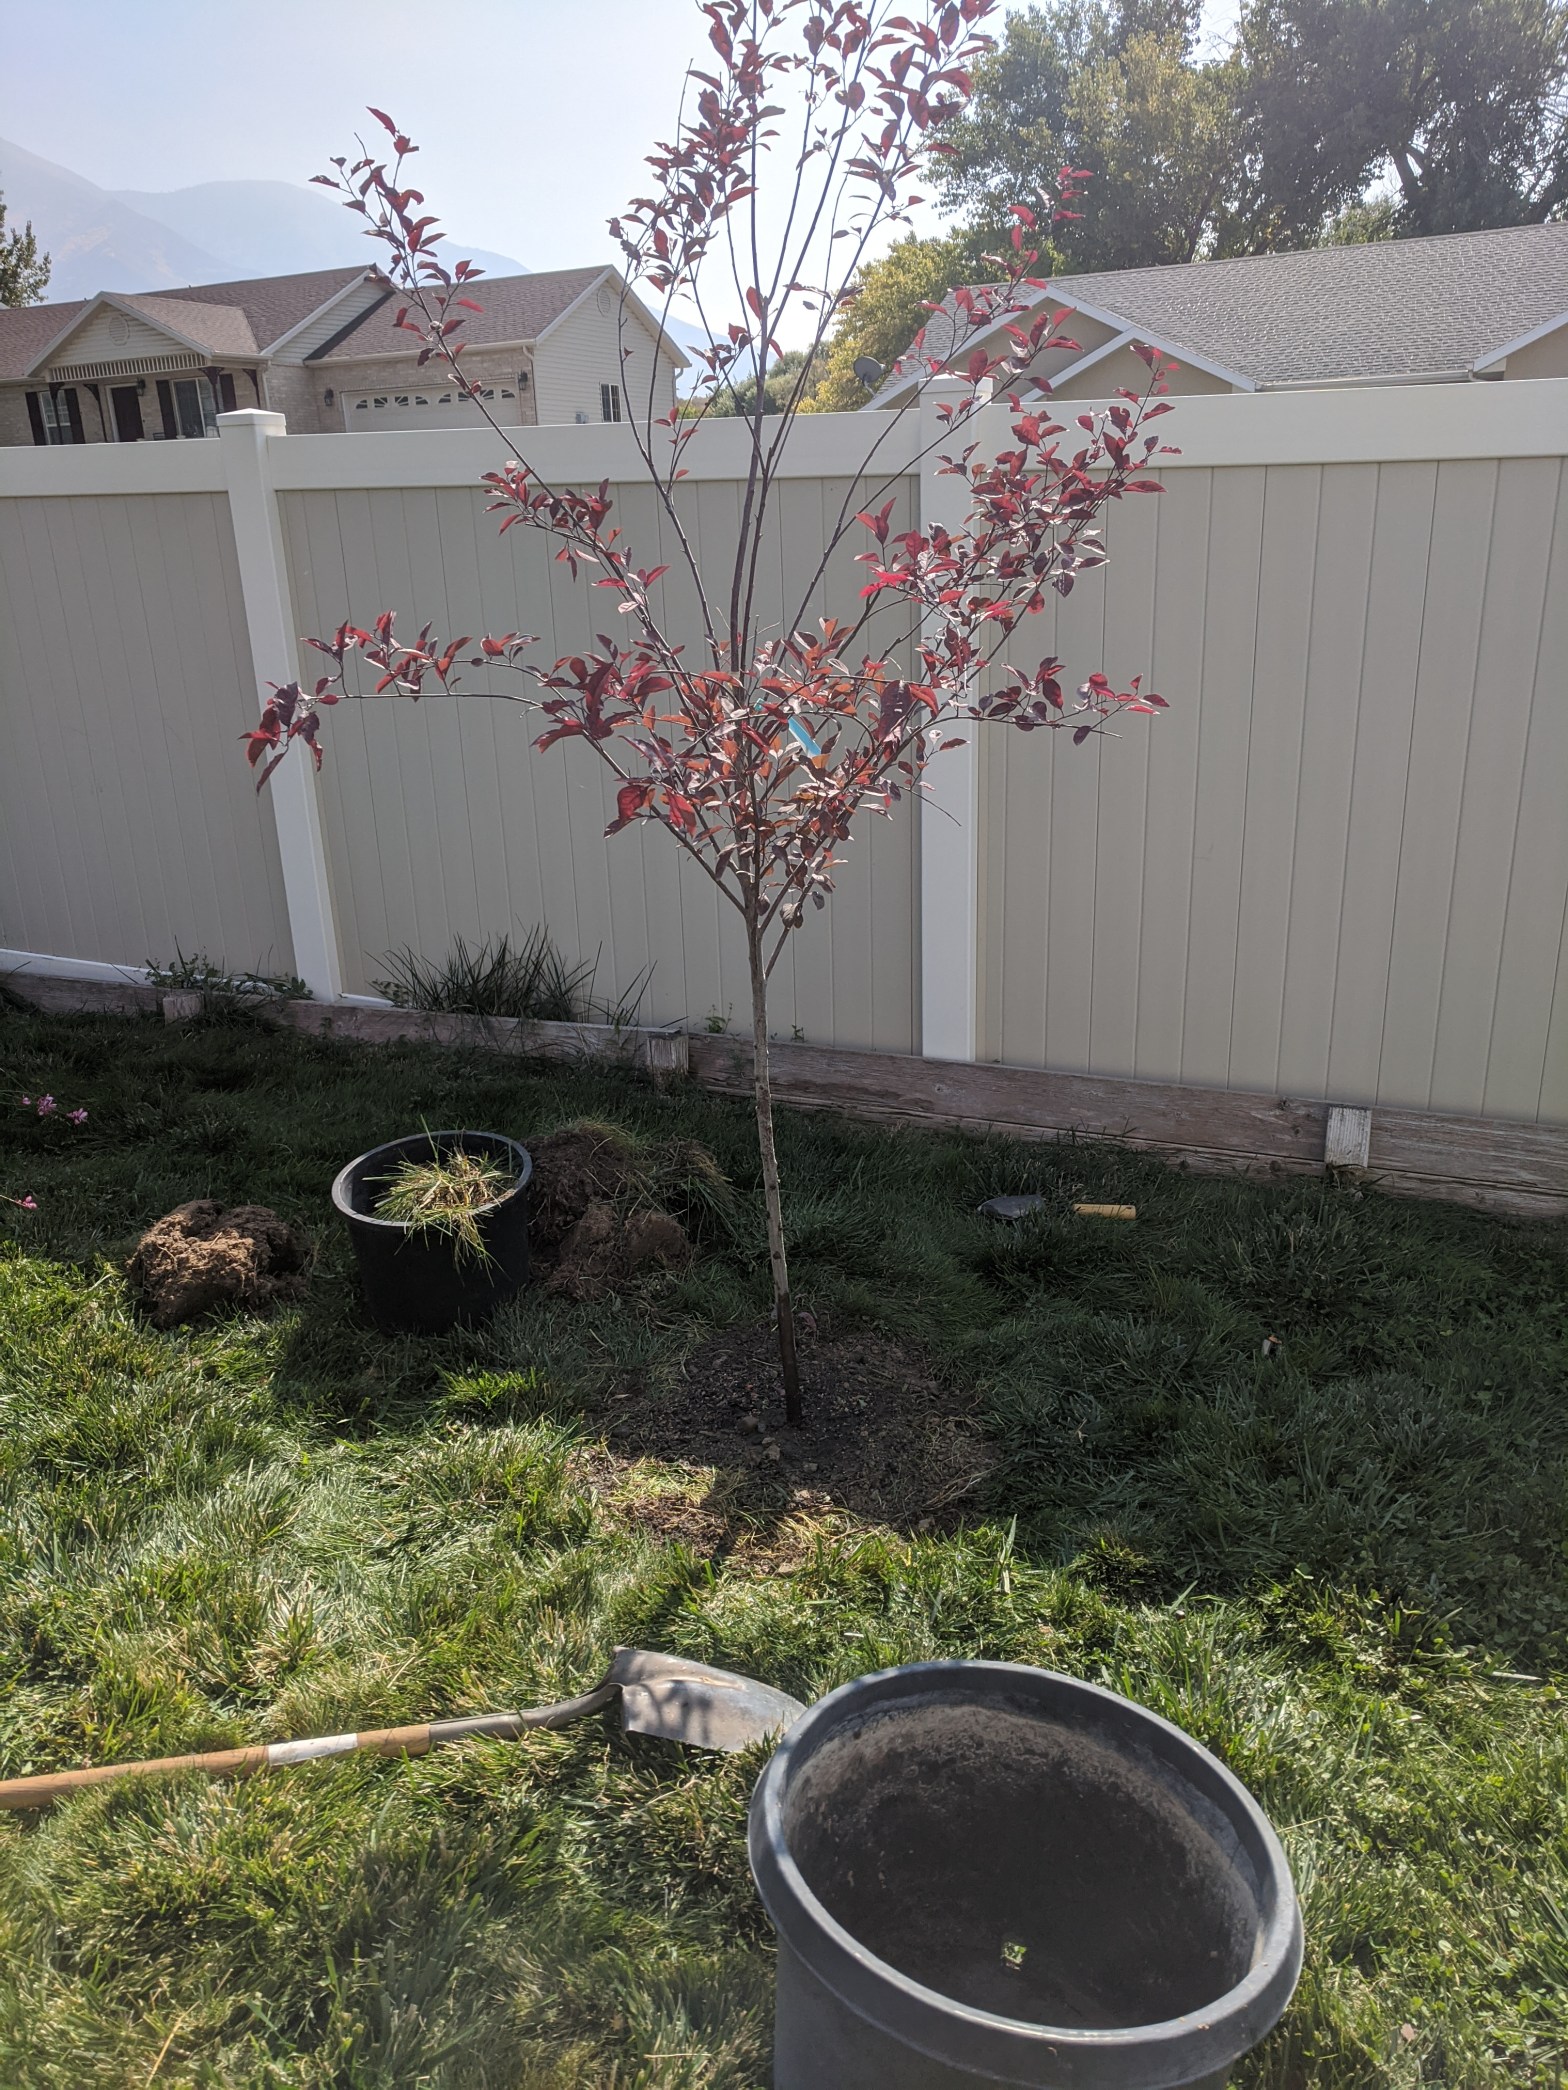
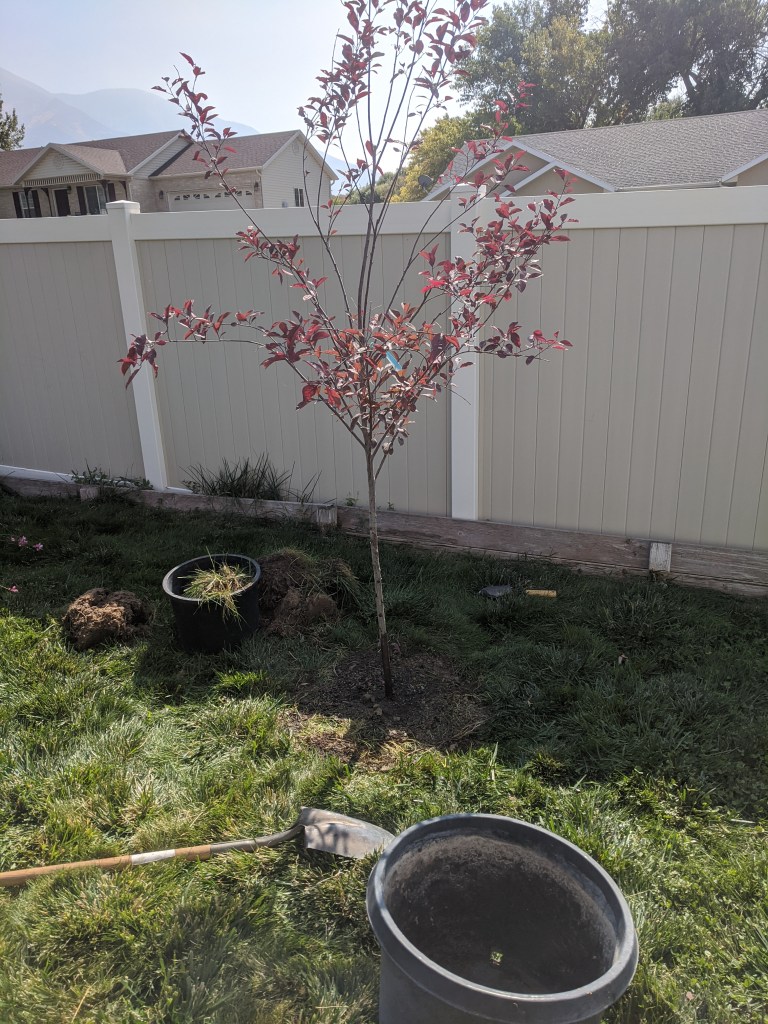
I chose this Big Cis plum tree to block the line of sight from across the street to my back patio because of its beautiful leaves and perfect size. Arborists can look down on red leaf plums because they are overplanted in some areas and they only live about 20 years, making them a short-term planting compared to other trees. I haven’t seen them planted much in my neighborhood, and I decided I’m okay with trying out one short-lived tree. I’ll expect to replace it when the time comes.
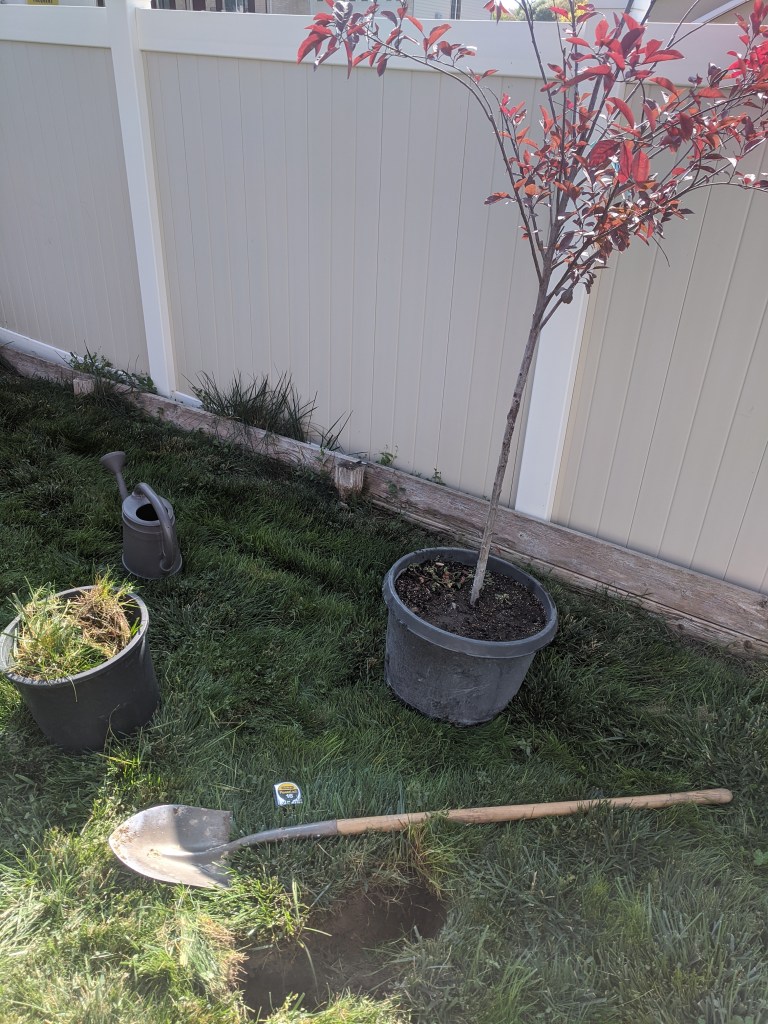
One of the instructors for my county’s master gardener course said that too many people take a $50 tree and put it in a $10 hole, when really the reverse should be true — a $10 tree being planted in a $50 hole. Ideally the hole the tree goes into should be twice as wide across as the pot the tree is coming from. For this tree I dug a hole that was several inches wider, but not twice as wide as the pot, and I started kicking myself for it as soon as I had the hole filled and the tree watered in. There’s a good chance the tree will be fine, especially since I gave it some extra space, but I will hate it if the tree does fail in a couple years and I learn that the hole was the cause of it.
just getting started on the hole
The reason to dig a wide hole is that the tree’s roots can have a hard time crossing into the firm, undisturbed soil outside the hole. They can even react to the edge of that firm soil as if it’s the edge of a pot, and start circling inside the turned soil of the hole. A tree can thrive for a year or two while their roots circle like this, but the roots will eventually strangle themselves and the tree will weaken and die. Digging a wider hole is supposed to make it so the roots are a little stronger by the time they reach the edge of the hole, a little more used to the native soil, and can push more tenaciously across that border.
One last planting tip from my master gardener class was to not fill the planting hole with compost or fertilizer but to use the exact soil you dug out in the first place. The reason is much the same as for digging a wide hole. If the planting hole is turned into a rich and loamy oasis, the roots might balk at entering the heavy native soil beyond the hole. Instead, fill the hole with native soil and topdress the entire area as you normally would with fertilizer or compost.
The record heat we had this summer was not kind to this young paperbark maple in its first year in my yard. It only has a handful of leaves, and most of them have suffered from sun scorch.
I’m interested to see whether this tree ends up doing well. On one hand, USU’s Tree Browser says the paperbark maple “definitely should be planted [in Utah] more often,” and lists that it is “fairly” drought tolerant (although other sources say it is happiest in moist sites), adaptable to different soils, has medium tolerance to alkaline soils, and is attractive with reddish peeling bark and good fall color. That all sounds wonderful!
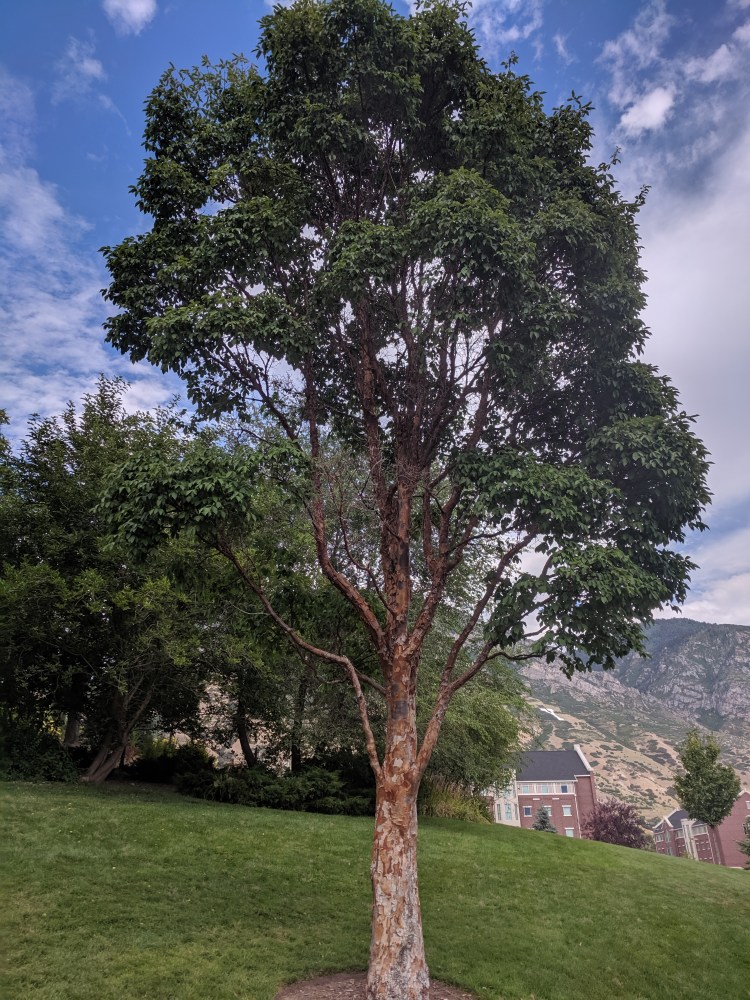
And yet, of the three paperbark maples growing on BYU’s campus, none are very impressive. When I visited them in Spring 2019, the one that looked best from a distance had a lot of dead wood on it. Another was just a funky shape. Definitely, none of them had the beautiful spreading canopies you see in photos of this tree grown in other parts of the country. (BYU’s Tree Tour site says its spread is usually about half the height, which doesn’t seem to be true in other places.)
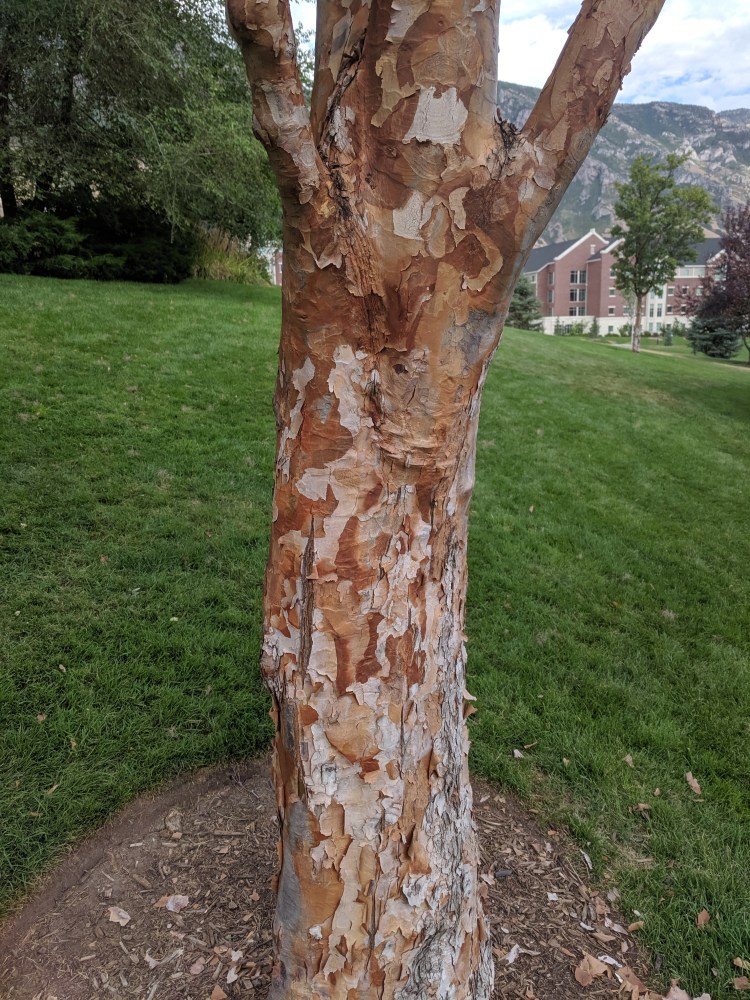
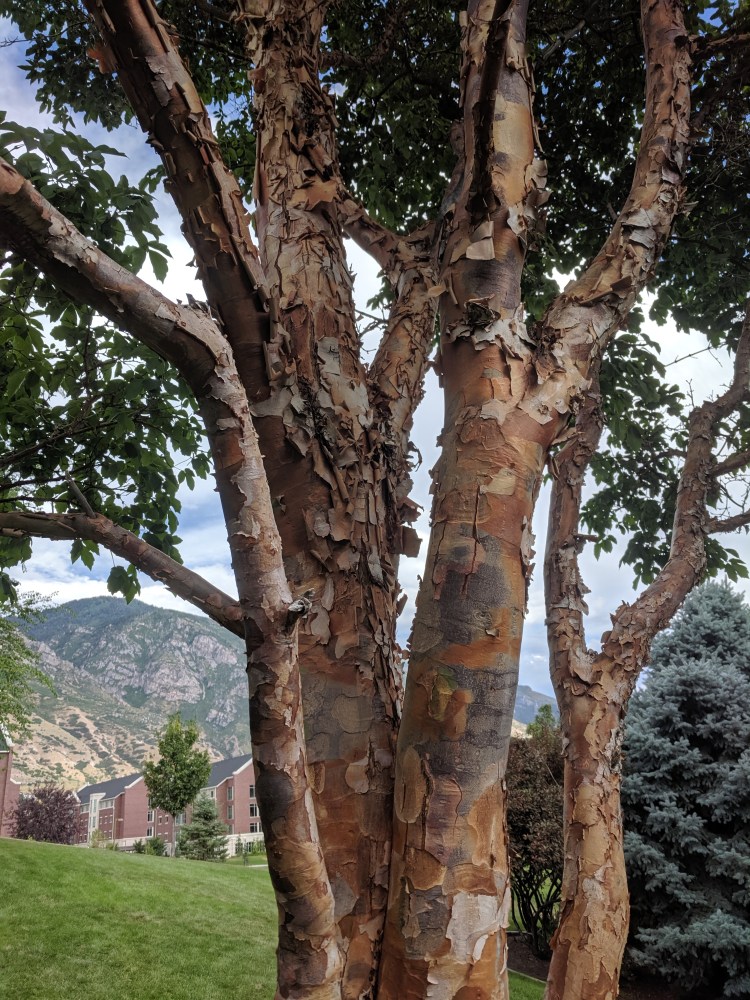
This was my favorite of BYU’s paperbark maples. I was sad to see how much dead wood it had. But check out that cool bark.
But a funky shape can still be attractive, and maybe the fall color and cool peeling bark will make it a nice specimen. It is supposed to be a decidedly slow growing tree, so it may be many years before I see how it turns out. Hopefully I at least see fewer leaves damaged by sun scorch next year as the roots get more established.





 mind and heart